Taking good quality pictures of jewelry for most is an unsolved mystery. Nobody in their right minds would want to shoot jewelry. Everything is so tiny and heard to focus. We’re always working in about three or four square inches and trying to create depth and detail. And if the jewelry has gemstones as well as metal, we’re trying to light the inside of the stones, not the outside particularly.
However there are some techniques used by professionals, which even amateur photographers can use to gain dramatic results.
The following tips show the important things that should allow everyone to achieve the best results:
1. Lighting
Jewelry is very difficult to photograph because its shiny polished surface reflects too much, in many case up to 99% of light it receives. If you use flash, you will usually end up with glares and hot shpts. The key is to use continuous natural light which has the ability to evenly and accurately reproduce all the spectacular colors found in the different elements of jewelry. Therefore, for jewelry photography we will be using fluorescent daylight light.
2. Diffused Lighting
When illuminating jewelry, you have to make sure never to expose it to light directly, as direct light will be reflected on the jewelry, and will create hot spots and shadows. What you need to do is expose jewelry through diffused lighting, which is light that has passed through some sort of light diffuser.
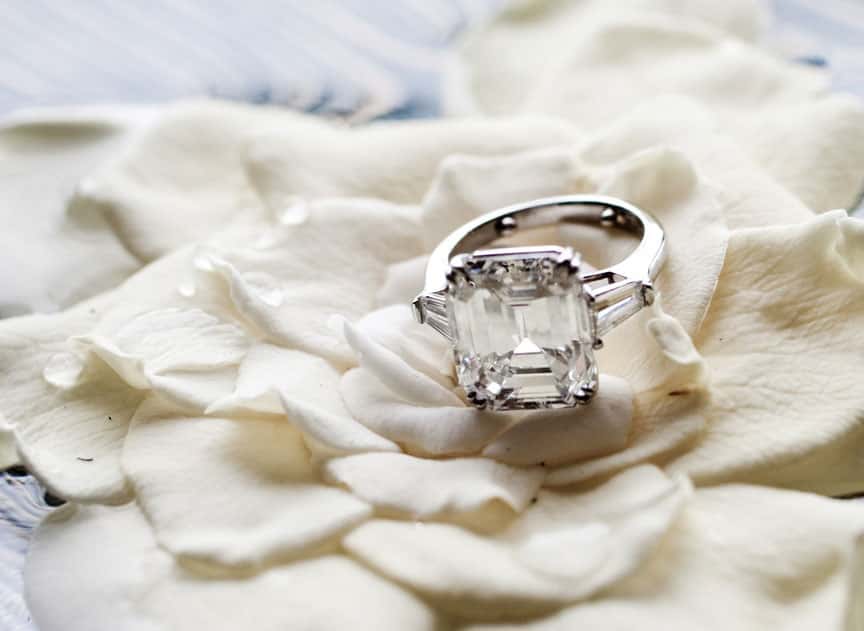
3. Getting Closer
One close-up picture shows details of the item. Jewelries are so tiny so you have to getting closer to it. You can take some photos from different angles. What does the item look like from the back or from the sides? It is like telling a story through pictures.
4. White Balance
The key element of successful product photography is white balance. You need to be able to control the white balance of your camera. Nowadays many cameras come with pre-program options. That means the camera can read and self-adjust itself to be able to take pictures in many light conditions. This feature is very important. If your camera can’t perform this feature you have to control your white balance very carefully.
5. Depth of Field and Focus
Setting the Depth-of-field in your camera is an important element in photographing jewelry. The first thing we need to do is to take advantage of the maximum depth-of-field that any camera has to offer. The camera should be set to manual mode so that the smallest aperture setting can be selected. This will allow us to focus the entire piece of jewelry, rather than only parts of it.
The second thing we need to do is to focus the lens to get an image as clear as possible. Most digital cameras have an auto-focus option which can be used, please select this.
6. Sutter Speed
Cameras need to control the amount of light so that an image is not too bright or too dark. Similar to our eyes, light enters through the lens and strikes the inside of the camera. Digital camera uses a charged coupling device (CCD) to capture the light of an image. Think of a CCD as ‘film’ in a conventional camera. Therefore, term exposure generally refers to a combination of aperture and shutter speed control to obtain the correct amount of light.
7. Stable Camera Mounting
When jewelry photography we recommend you to mount your camera to a stable surface in order to get the sharpest photographs possible. If you hold your camera with your hands, it is likely that you will slightly move the camera while photographing, and your photos will come out blurry. So you have to use a tripod or “L” bracket.
After taking photos the there are few tusks have not finished yet. The photos have to go through some techniques such as Photoshop clipping path, retouching, color correction, drop shadow effect etc. to make more attractive.
These are just some general tips. Within these constraints, the photographer can really get creative and best of all — let the jewelry shine as the center of attention.