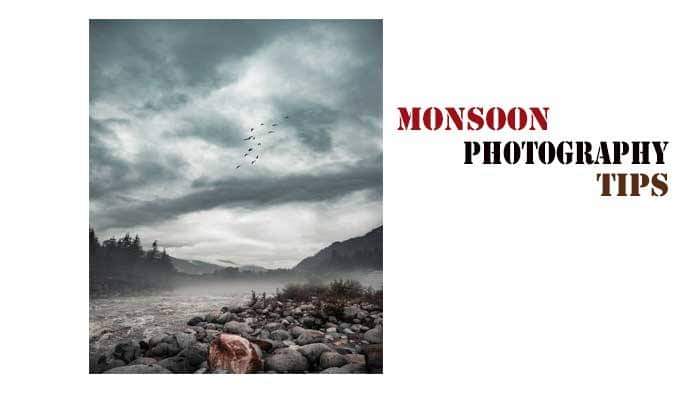
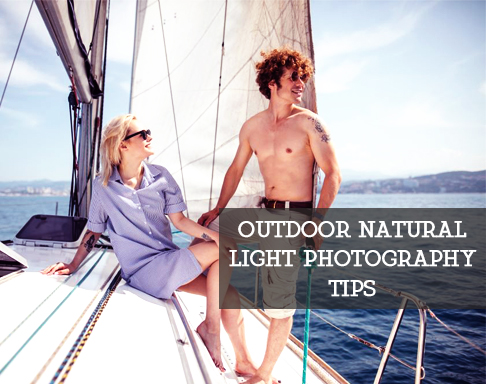
We see different types of images in many ways in, in many places. Portrait, Glamour, Artistic, Landscape etc. These photography types are very famous in the entire world. Landscape photography is something which comes with nature. We see different types of natural scrivener in a landscape photo. A photographer has to do a lot of hard work when it comes to clicking landscape photos. It is not easy to click a perfect landscape photo. It has to be perfect and beautiful. No one can become a landscape photographer just by clicking photos of nature without knowing the depth. A photographer spends a lot of time in a lot of places to get one single landscape photo. Only then a good photo of nature can be found. A landscape photo can be consists of many things such as sky, trees, hills, mountains, river, sea, fountain etc. If there is human or animal or species in the photo of nature, it also can be called as landscape photography.
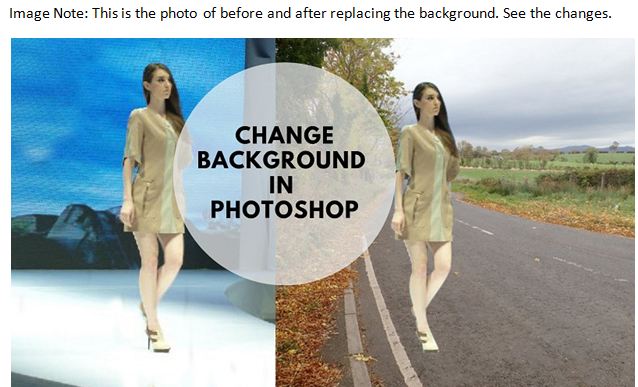
After clicking landscape photograph, a photograph may not be happy with the outcome because of some flaws. Suppose a landscape photo is clicked containing a man standing and looking up in the sky. But the sky may not look beautiful and attractive and the photographer has no time to click another photo since the sun has set and the momentum to has gone. What he can do is, to edit the photo and add a sky of his own choice. There are different image editing service providers who can solve this problem. Or a photographer can also do this at home if he knows the work of Photoshop. You might be wondered why I am talking about Photoshop. Well, Adobe Photoshop is one of the best image editing applications around the world. And in this tutorial, I am going to show you some steps on “how to edit sky in Photoshop.
Here, the step-by-step process is shown on how to edit sky in Photoshop below
Step 1
At first, you need to open two images. Both of the images have to contain two different skies. You can open the images manually by going to File>Open or You can simply drag the two images in Adobe Photoshop from the window.
Step 2
Now, you need to mix the two images together. To do that, select the selection tool and drag the 2nd image into the 1st image. Doing that, a layer (Layer 1) will be created automatically.
Step 3
Drag the second photo into the 1st photo to fill the whole space of the 1st layer. When you are done filling the whole area with the 2nd image, click on the (tick) sign on the top of the menu.
Step 4
Once you are done filling the whole area with the 2nd image, you can start working.
Step 5
To work further, you need to add a Layer mask. Now, add a layer mask. Go to layer menu bar and click on the square button which indicates adding a new layer mask.
Step 6
After adding a new layer to the image, you need to inverse the layer by pressing ‘ctrl+I’. Doing that, you will see that the box of the layer mask turned black from white and the previous image will appear.
Step 7
You need to choose the right tool to change the sky of the image. Since you have already joined two images, now you need to select the Gradient tool which you will find in the tool bar on the left. Click on the Gradient tool to activate the tool and start working.
Step 8
You have to change the foreground color and background color. Go to the tool bar where you will get the foreground and background color box. You just need to reverse the color. Change the color from white to black by clicking on the arrow sign which you will get just upside of the box.
Step 9
Since we have chosen the gradient tool, activate the gradient tool and draw a line on the 1st image and you will see that some area of the 2nd image will appear on the area you have drawn the line.
Step 10
Now, click on the 1st layer to drag the added layer as per your requirement. You will get a box by which you can drag the added layer image as long as you want to.
Step 11
Once you are done with fitting the 2nd image on the first image, click on the ‘tick’ mark to fix it.
Step 12
Once you are done fixing the size of the 2nd image, reduce the opacity of the 2nd image (Sky) as it is required. Here, I have set the opacity reducing into 89% to match with the 1st image.
Once you are done fixing the size of the 2nd image, reduce the opacity of the 2nd image (Sky) as it is required. Here, I have set the opacity reducing into 89% to match with the 1st image.
Press Enter when all the processes have been done
Step 13
Now you need to save the photo by going to File>Save as and select the JPEG format.
Following these 13 steps, you can easily edit or change the sky of a photograph. This service is taken mostly by photographers. The photos are usually used in magazines, posters, wallpapers, many tourism websites and in many other mediums. This is a unique work which comes under image manipulations. So, start working and experimenting on changing one sky to another. Hope this tutorial will be beneficial to you.
Following these 13 steps, you can easily edit or change the sky of a photograph. This service is taken mostly by photographers. The photos are usually used in magazines, posters, wallpapers, many tourism websites and in many other mediums. This is a unique work which comes under image manipulations. So, start working and experimenting on changing one sky to another. Hope this tutorial will be beneficial to you.