
Clipping Path Service Provider | Professional Photoshop Services
Get Your Product Photos Perfectly Edited by 12-16hrs.
Clipping Path Experts – Image Editing & Clipping Path Company
Clipping Path Experts (CPE) is an offshore photo editing company and clipping path service provider. Providing Photoshop clipping path service, Photoshop masking, photo touch-up, photo retouching, invisible ghost mannequin, drop shadow, raster to vector conversion, image manipulation, e-commerce photo editing, multi-clipping path, and other Photoshop services. If you are searching for the right service provider for your business? Stop looking. We will surely help you grow your business.
We are one of the best photo editing service providers worldwide. We are also very proud of it. We have been working in the image editing industry efficiently since 2011. We have our production site in Dhaka, Bangladesh. But we provide our graphic design services globally to people from the USA, UK, Australia, New Zealand, Canada, Spain, Netherlands, Norway, France, England, and many more countries. We can ensure 100% quality photo editing service at a low cost as we specialize in it. We are concerned not only about quality but also increased the quantity at a minimum time. Our experienced designers are the sole reason for us being the best. You can outsource any of your professional picture editing needs and give your business cutting-edge in the worldwide market.
We believe that quality is very much essential to growing the business. And our professional team provides 100% quality photo editing services. We motivate our designers to work faster during editing with high quality. Our designers are given a limited period of time by which they have to complete their work and deliver the multiple clipping path services needed. We ensure quicker deliveries to our clients so you can easily save time and money. Our experienced Quality Control (QC) department thoroughly checks every file when this process is completed. They make sure the job is done accurately. Then we deliver the files to our clients.
Our Popular Photo Editing Services
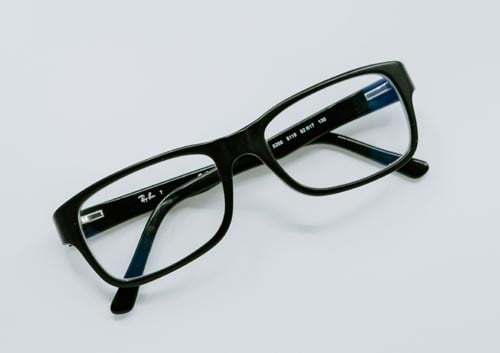
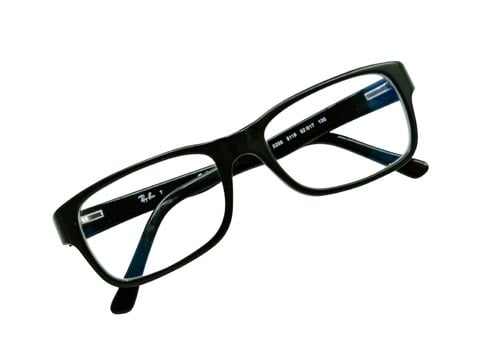
Clipping Path
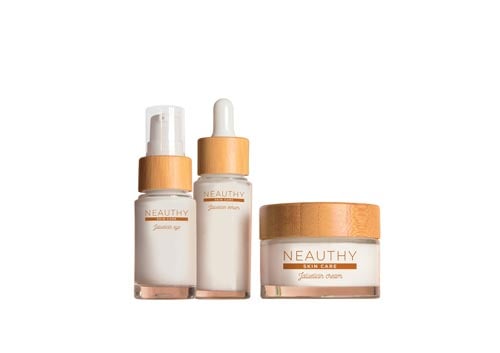
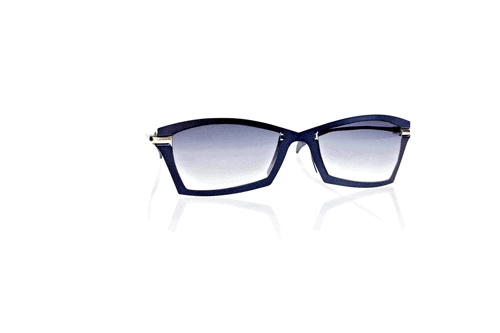
Clipping Path Service is a type of background removal service used to select the object accurately, which is used to change or remove the background from your image. It is done by creating a path on the object in an image using the Photoshop pen tool. Among all the editing services, clipping path is the most renowned and is taken by many clients. We ensure hand-drawn quality clipping path.

Image Masking
Image Masking Service removes the background from images where clipping path service cannot be applied. Such as fur, hair, transparency, etc. Creating an accurate clipping path on such images is tough, and sometimes it’s quite impossible. This is why different photoshop image masking methods are applied to it for removing backgrounds.
Ghost Mannequin
Ghost Mannequin, also known as Neck Joint service, is used to remove the dummy from the apparel and replace it with the hidden part using clipping path service. It looks like the apparel is live on the body, which helps you to give your apparel image an excellent look. You can use it for promoting your clothing products online and offline as well. It is mostly used on eCommerce websites.

Photo Retouching
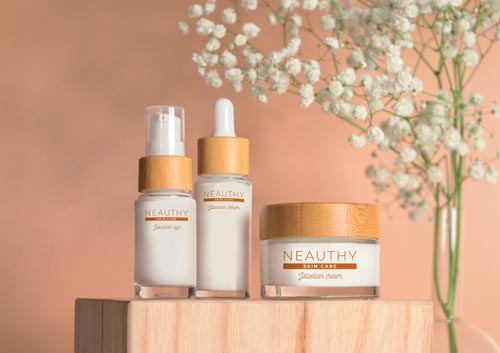
Photo Retouching Service is the most popular and usable service in the image retouching industry. Having wrinkles, dust, spots, and blemishes can make your images look dull. Photo retouching or photo touch-up is a solution to remove these and make your image flawless. It’s perfect for photographers, modeling agencies, eCommerce websites, photography studios, etc. We also provide photo restoration services in this category.
Shadow Creation
We create realistic shadows on your product photo to make them look more natural and attractive. We provide different types of shadow creation services like natural shadow, reflection shadow, drop shadow service, soft shadow, and floating shadow. Each type of shadow gives different attractive outcomes of products in the images. It makes your image look alive.

Color Correction
Color Correction is another service we provide. If an image is a body, color is the soul. No image can attract people if the color is wrongly adjusted. We put the right colors in your images by adjusting their levels, color balance, exposure, hue/saturation, etc. We balance the colors of images to make them look more appealing to your eyes in our color correction service.


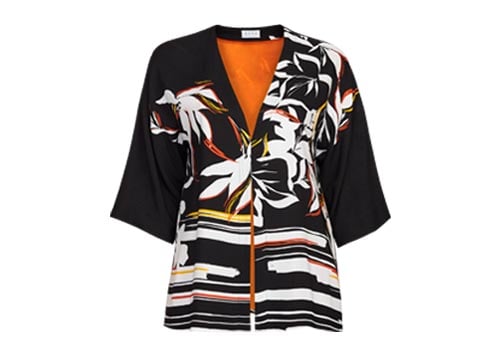
Shoe Photo Editing
Shoes have many parts like shoelaces, soles, etc. We provide many types of shoe photo editing services to our customers for their shoe product images. It includes background removal, retouching, dust/spot removal, scratch removal, adding the shadows, etc. Our designers edit your shoe photos in the best way possible. So that you get the maximum conversions from your online promotions using it.
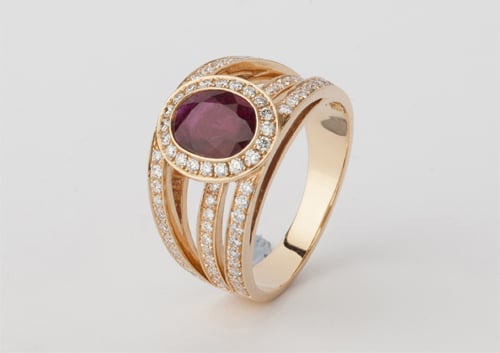

Jewelry Photo Editing
Jewelry photos usually need retouching services. Like – background removal, dust/spot removal, reflection removal, metal shining, stone polishing, color correction, etc. To apply these jewelry photo retouching services, professional editing is mandatory. We use Photoshop and Lightroom to edit such images manually. And provide our clients with smooth, fine-edge, and attractive jewelry images.

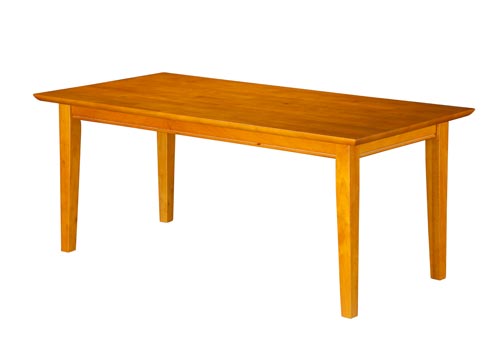
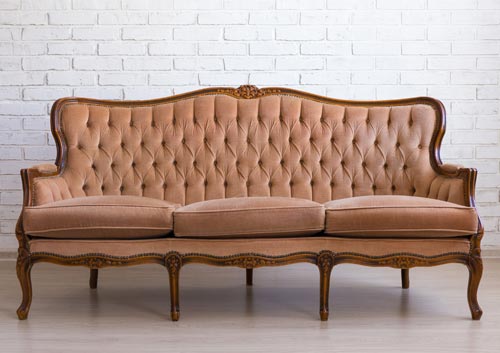
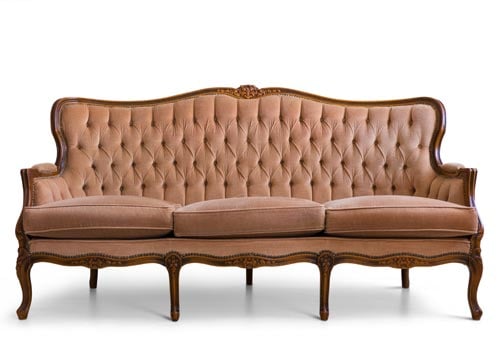
Furniture Photo Editing
Furniture is the jewel of the room. In modern-day, people are purchasing online more than ever now. Getting attractive furniture photos shown online requires professional editing. Our company edits such photos most finely. Using manual editing techniques like – background removal, adding shadows, dust/spot removal, retouching, etc. We offer professional furniture editing services at the best price.
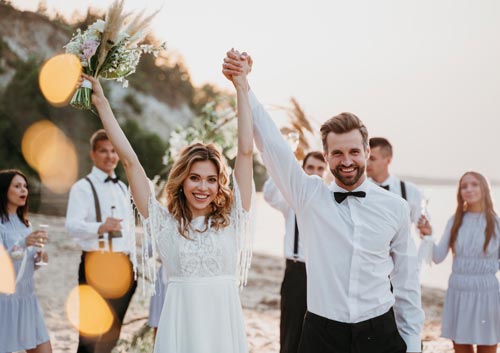
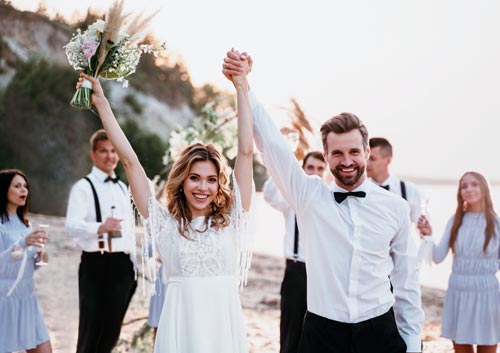
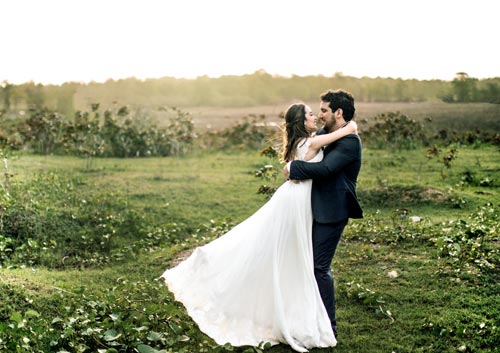
Wedding Photo Editing
Weddings are one of the most important events of anyone’s life. This is why they want their wedding photos to be beautiful and fine-looking. Wedding photographers are responsible for capturing such amazing photographs of the wedding. But to save their time editing batch photos of such events, we provide wedding photo editing services at the best price.
eCommerce Photo Editing
eCommerce businesses like Own Website or Amazon, Alibaba, Etsy, eBay, etc., has various image requirements. One of the most important ones is a clean white background. It correctly highlights the details of the products. The clipping path service is needed for background removal of the image. Our designers are experts in eCommerce photo editing services.
360-degree Photo Editing
When you like to see every part of the product by rotating it online, it needs to shots the product by a 360-degree photographer or agency. Showing them online, the images need to be edited correctly by doing the background removal, clipping path service, adding or removing the shadows, retouching the product, and making them look professional. We called it the 360-degree photo editing service.
Pricing
Our best photo editing price list.
To know more about Pricing details
Benefits Of Hiring Us
Manually Hand-Drawn
We make sure the images are pixel-perfect. And all the edits are done by hand. Our professional designers. Use their sound knowledge and experience. To edit every image manually using pen tool and tablets. Without any automatic AI tools. Which keeps the edges of images clean and smooth.
Fast Turnaround Time
Get all your images edited before the deadline. Our clipping path company team ensures clients’ projects are done within time. We also offer rush service for clients. Who are in a shortage of time? And deliver their work rapidly in a short period. A reasonable extra charge is applicable for this service.
Reasonable Price
We understand the need for cost escalation for a business. This is why we have a cheap pricing structure. Our services come at a very reasonable price. That is undoubtedly under the budget. This helps our clients. To save their cost of post-processing from an outsourcing company.
Data privacy
Your data is secured. We make sure that the data you share, such as images, will not be used anywhere else except in your projects. We understand the fact that your data is valuable for you and it is also for us. You can trust us without any hesitation, and we’ll surely keep it till the end.
Dedicated QC team
For your ease and better quality work, we have a dedicated QC (Quality Control) team for every service. Each service has its team of Editing experts. If a team does a clipping path service, the other team does retouching. We use the process of division of labor to make sure the overall image is edited as accurately as possible.
ISO 9001 Certified
ISO 9001 Certificate ensures that the photoshop service delivered is of 100% Quality. It tells about our work standard and the quality. We are an ISO 9001-certified company, and we always maintain our quality.
What we have achieved so far
How we work as Clipping Path Service Provider
Request a quote for the images.
We’ll review it and get back to you with a proposal.
Once approved and uploaded the images, we’ll start processing the job.
Download the images once the job is done.
Make payment and leave feedback.

What our customers say!
Business owners that get benefit from Clipping Path Experts
Clipping path Experts is one of the most popular photoshop editing services providers in this industry. Its popularity is because it helps businesses to get perfectly edited and retouched photos for their promotional activities. They are also the best clipping path service provider in the market. This kind of photo can be used anywhere online and even offline. Thus, many types of businesses get various benefits from us. Let’s see below the business that gets benefits from our photoshop services.
Virtual Web Development Companies
Photos are the main key to getting attraction and traffic from people of a website development company. If you have amazing photos on your company site/sites, it will prove very useful for the company’s growth. These kinds of companies can use photoshop services to make the photos look flawless and use them to attract viewers.
E-commerce Business website
We all know how e-commerce businesses have captured a lot of markets online. Images are the heroes for every e-commerce business. It is images that help a customer to buy the products or reject them. As e-commerce business sells products online, the images must be high quality. An eCommerce business is a business that gets the maximum benefits from photo editing services. Edited images can be placed anywhere you want and make them look attractive. We remove the image background. And provide quality images of products for your online business.
Photography Studio owner
Photo studios usually have their background and proper lighting setup. The clients of a photo studio expect amazing photographs after getting clicked. An awful image is enough to ruin an entire business. The image of the photo studio might not look good in every photo and may need post-processing. They may need to change or remove their gaudy background, retouch the flaws or spots from the subject, edit color issues and get fresh and high-quality images. This is where photoshop editing services like ours help them by saving their time and cost from editing photos.
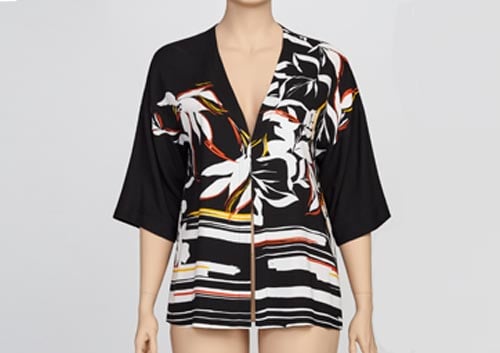
Apparel/Clothing Company
Clothing companies need good photos for two reasons. One reason is the photo print on the apparel, and another is to sell the products by showing their clothing photos. Both types of images should be clean and beautiful. Clothing companies use image editing services like photoshop clipping path service, image manipulation, and photoshop image masking to get transparent designs or photos for printing the photos on apparel. Conversely, the companies get catchy clothing photos by going for this service.
Digital Marketing Company
Digital agencies help many products and brands to shine on different online platforms. The images used for promotions of the brands should be gorgeous and flawless. Photoshop services help digital agencies deliver flawless photos on platforms such as Facebook, Instagram, Twitter, Pinterest, and Google+. We provide top-class image clipping path services and clipping masks to create all sorts of digital marketing mockups needed for a company.
Advertisement Company
Advertisement agencies work with both video advertisement and photo advertisement. Photos are being used hugely in the world of advertisement for promotion. The retouched images by using this service grab great attention from people as the photos come strikingly well. As a photoshop editing and path service provider, we provide the right product photo for an advertising company.
Publication Company
Publication houses mostly use photos in books, journals, diaries, magazines, etc. It is very important to publish good quality photos in any publication field, and clipped images are used frequently in any publication. So the publication houses take help from image editing service providers to get the edited images so they can use them while publishing.
Modeling Agency Business
The most sparkling agency in the entire world is a modeling agency. Modeling agencies are all about photographs. From entering into the modeling agency to the end, all that matters is being photographed. Whether the modeling agencies create a portfolio of the models or publish any kind of modeling photos anywhere, clipped photos are highly used. The modeling agencies collaborate with photo retouching companies and take retouching services to improve the quality of their images.
Real Estate Agency
Real Estate agencies need to have accurate and best-quality photographs to show. A gaudy image makes a real estate photo look entirely awful as well. Hence they take help from photo editing companies or agencies to edit their real estate images and make them attractive. By doing that, they get flawless photos of their real estate properties and attract viewers.