E commerce industry is growing at a faster rate. All sorts of products whether perishable or non perishable are being sold to consumers online. Due to the lack of timing in general people’s life for going to supermarkets and buy stuffs, this e commerce industry has grown so much.
Many niche market retailers like flower sellers, arts and crafts sellers, etc are now being able to sell their products without having a store. They’re selling their items on e commerce websites like Etsy, Amazon, Ali express, etc.
The sale of e commerce flower sellers mainly depends on the photo or image of the flower. If the image of the flower looks attractive and striking then it will definitely get sold quickly. This is why the flower sellers hire professional photographer to take photographs of the flowers and they also hire professional image retoucher to edit the flower photos.
You should read out this article to get more information about how an image can boost up ecommerce sales – How Images Can Boost Your Conversion Rate
The advertising expense of an ecommerce business increases after hiring professional photographer as well as image retoucher. To decrease this cost still getting the same output some flower sellers outsource these works from photo editing companies or sometimes edit it themselves using various ecommerce product photo editing services. They retouch flower photograph on Photoshop to increase the attractiveness of the flower image.
What are retouching and its significance for ecommerce business?
Image retouching is a method using which a person can change the outlook of the image and make it look more attractive and eye – catching than before. It has a major importance for an ecommerce business. The ecommerce industry is purely an online business. The customers who will buy these ecommerce products will not be able to inspect the product using their hands as they’ll be showcased on websites. So the customers will judge the quality of the product by checking out its image on the ecommerce website. If they find the image of the product attractive and worth buying then, they’ll surely add them to their cart and make the purchase. This is why retouching is very much significant for an ecommerce business as it increases the attraction of the product image.
In this article we’ll show you some great and effective image retouching techniques for ecommerce flower sellers that will help you to also edit your images and increase conversion. So without further adieu let’s start!
Color correction for flower image
This color change technique will help you to edit the color of the flowers and retouch its textures properly using Photoshop. The steps are –
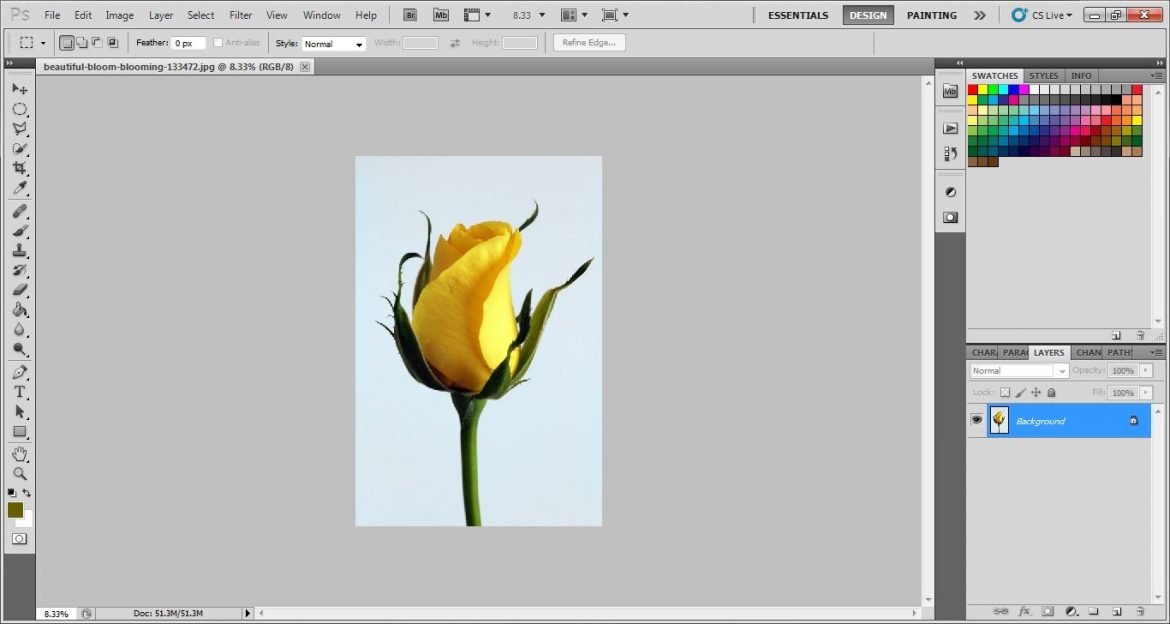
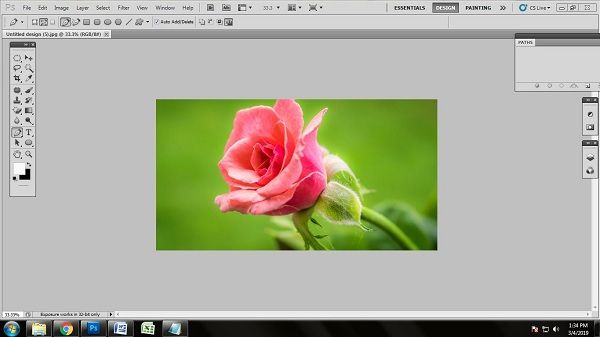
Open the image
The first step is to open the flower image on Photoshop canvas. The Photoshop canvas is the screen where we’ll be able to retouch the flower image and see how it will look after editing. To open the image we can use to simple ways. The first way is to use the File>Open shortcut (Ctrl+O). The second way is by dragging the image from the source folder and dropping it on the Photoshop canvas using a mouse.
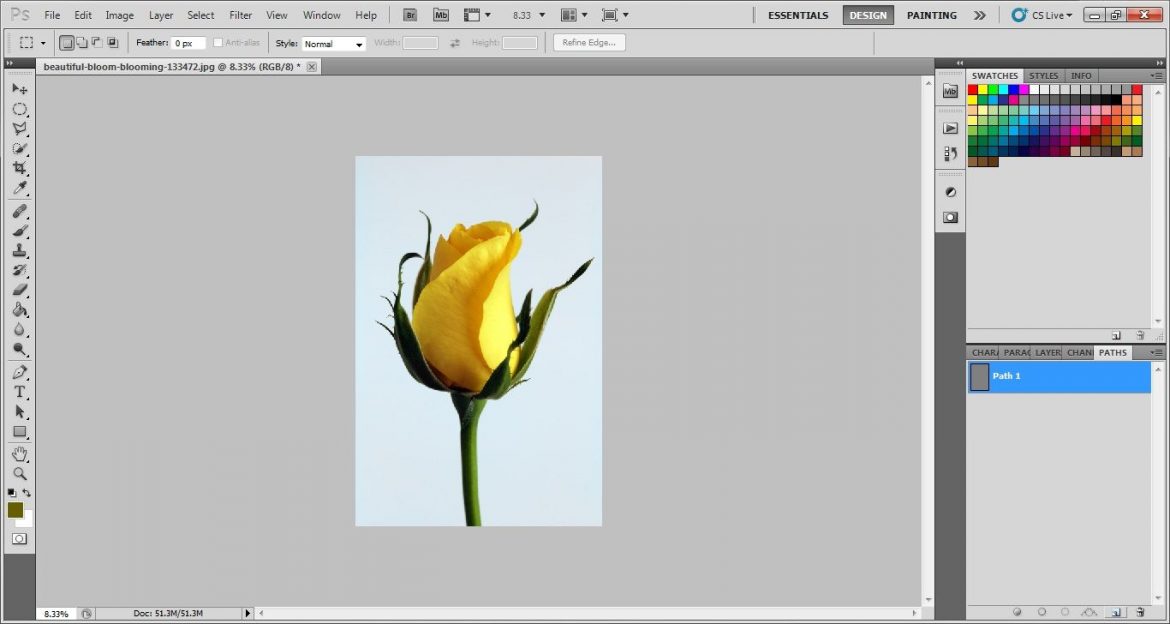
Path Layer
Next step is to take a path layer from the path tab. The path layer will help us to save the drawn path and select the area of the image for color correction. To take a path layer go to the Path tab and open a new path layer clicking on the page like icon on the bottom.
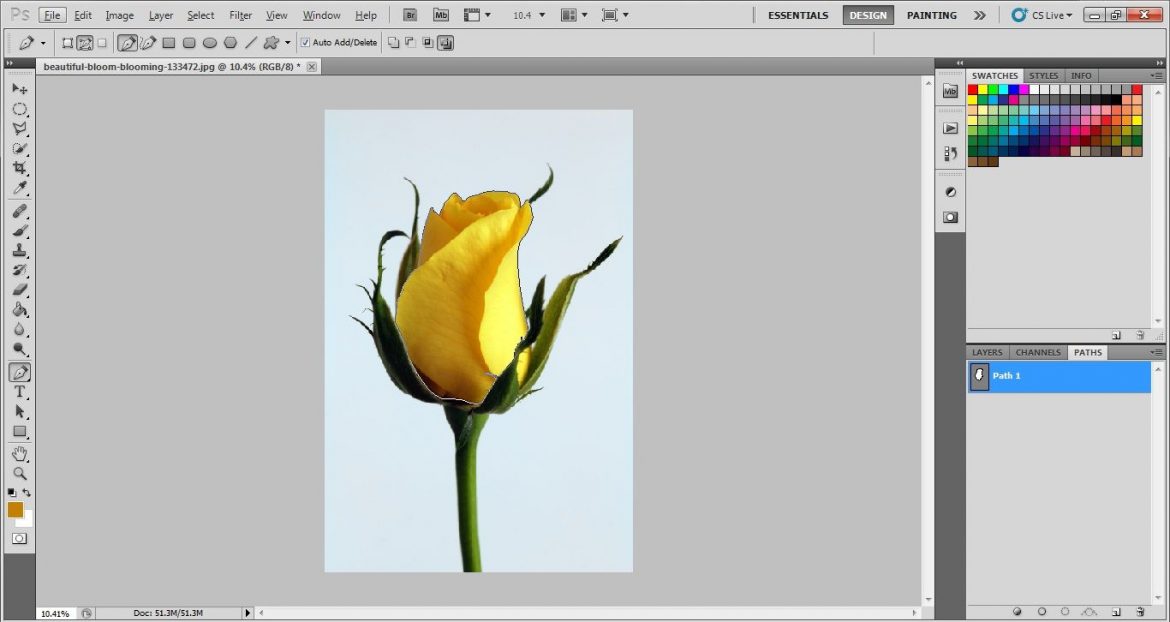
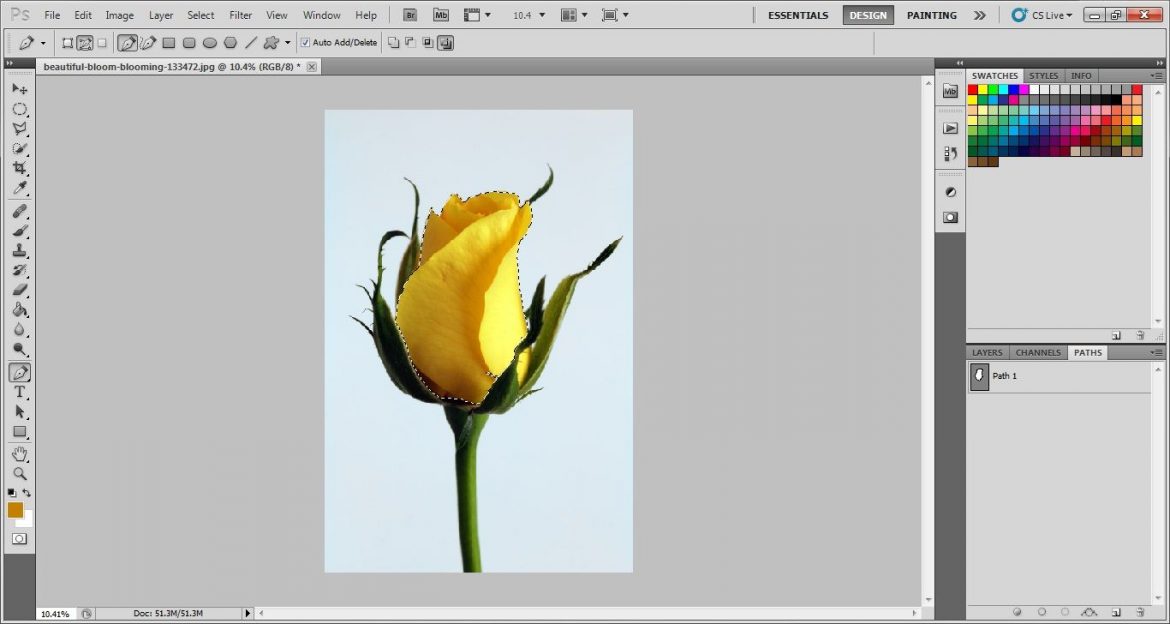
Draw Path
Then draw a path using pen tool. The pen tool helps us to draw a path using anchor points. After drawing the path over the area of the image you want to edit close the path by connecting it with the first anchor point. The path will get drawn on the image and you can see on the path layer that the shape of the drawn path is visible. drawing a clipping path can be a daunting task if there are more than one flower images for your business. This is why outsourcing such nitty-gritty time-consuming tasks is the best option to save time and money for an ecommerce business. And you can take our top-class clipping path service at the lowest cost to save time.
Select Path
We cannot start editing the selected portion of the image or the path area without selecting it. To edit the image further we will need to select the drawn path area. To make selection, choose the path layer and click Ctrl+enter. The path will get selected and now you can start changing its color.
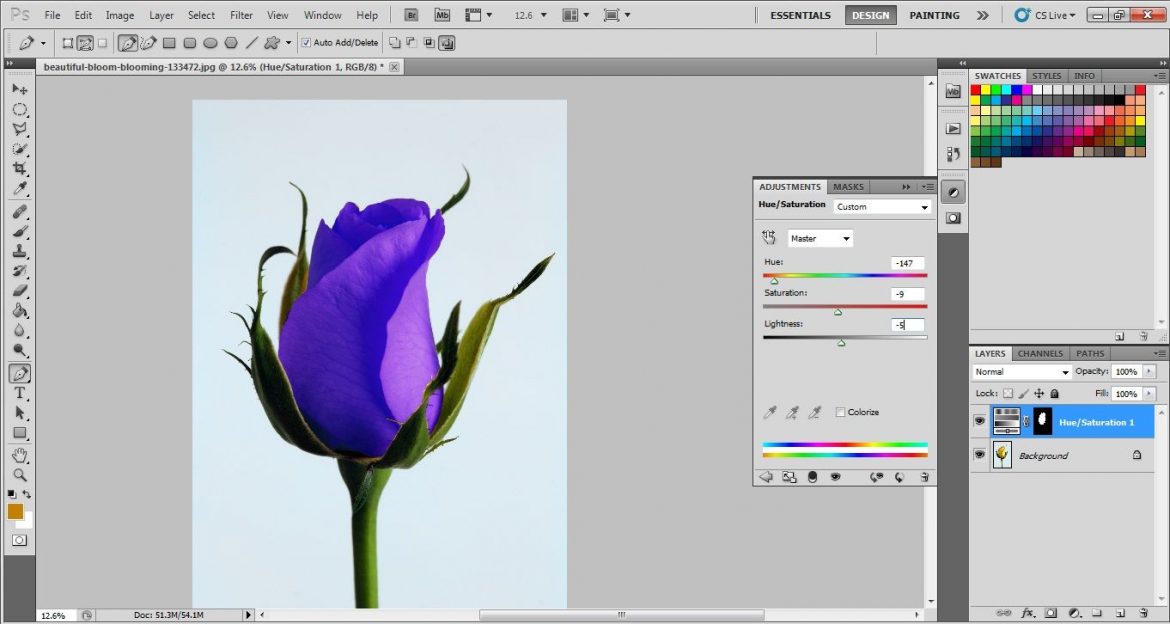
Choose Hue and Saturation Layer
There are different ways of changing the color of the flower image but a hue and saturation layer is the best option for it. Hue and saturation layer gives a great original look to the flower image after color correction. To start color correction we’ll first need to choose the hue and saturation layer from the adjustment layers menu. The adjustment layer menu has a circle icon with one side black and other side white and it can be found on the bottom of the layer tab.

Hue and Saturation settings
After choosing the Hue and saturation layer now you can change the color of the selected area by using the Hue and Saturation sliders. The hue will change the color, the saturation will enhance it and the lightness will determine the quantity of the color on the image. Using these three sliders you can change the color of flower image on Photoshop.
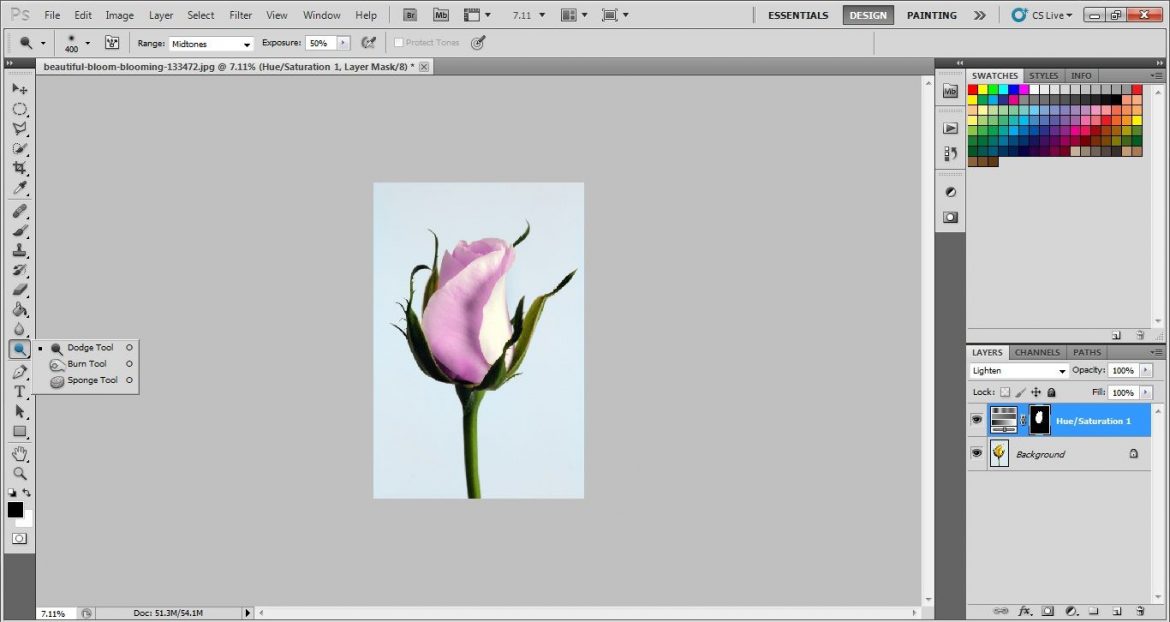
Change the Blending mode to lighten
After changing the hue and saturation of the flower image you’ll see that the flower doesn’t look original. To make it look more real change the blending mode of the hue and saturation layer to Lighten. The blending mode is the bar next to opacity and above the layer tab.

Retouch the flower using Dodge and burn
Now give the flower image a small final retouch using the dodge and burn tool from the toolbar. The dodge tool will lighten the color and the burn tool will darken the color. This will give your flower image a natural and original texture.
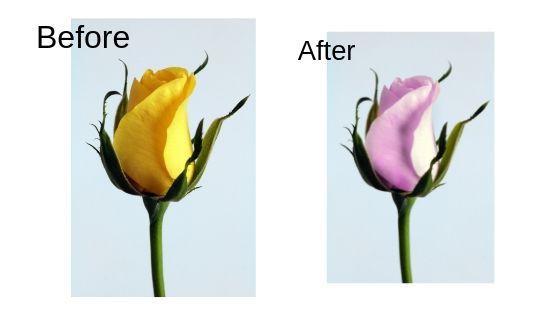
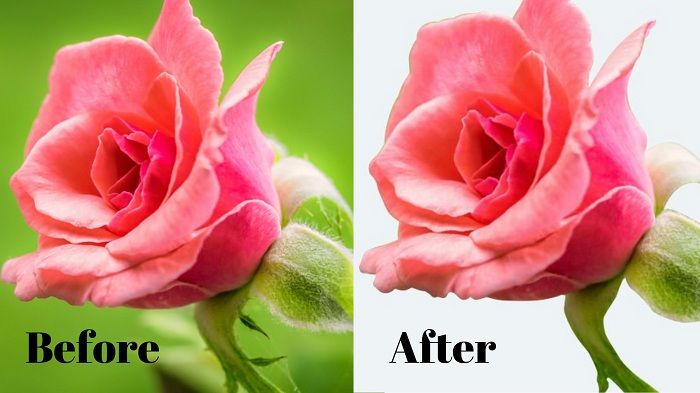
Before vs After This is how the flower image will look after getting retouched and color corrected using Photoshop.
Background removal for flower image
Background is one of the important elements in any of the photographs. If you are running an e-commerce site and you are selling flowers through that, you need to showcase the flower photos in a very convincing way. If you do not have good backgrounds inside, you can take the help of background removal.
Here, I’m showing you the technique of background removal using Photoshop which you can use.
Open the Photo
When we want to remove the background from a photo, we need to apply the technique of background removal. As we are using Photoshop to remove the background, we need to open the required flower photo into the Photoshop application at first.
There are two techniques you can use to open the photo in Photoshop. Automatic and manual are two processes of opening the photo in Photoshop as we all know. You can either select automatic option or manual. If you choose to open the photo in automatic way then you have to drag the required photo into the Photoshop bar from the file location. The photo will be opened.
In manual way, you have to open the Photoshop application. Go to File>Open. Select your required photo item from the windows and press enter to open. Your desired photo will be opened in Photoshop
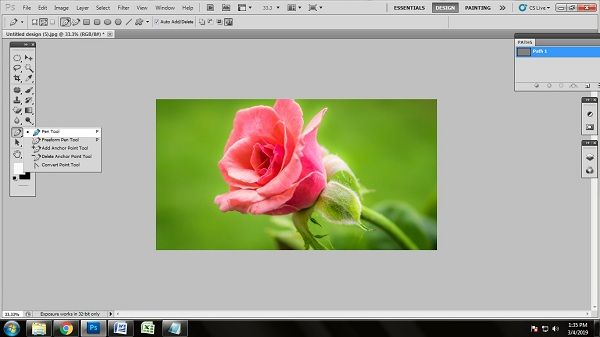
Select Pen Tool
If you go and ask the most skillful photo editor about the best tool for background removal in Photoshop, most of the editors will say “the pen tool’. Pen tool is considered as the best tool for removing background in Photoshop. Based on that, we are going to activate the pen tool to draw clipping path over our flower image.
You can activate the pen tool from the tool bar. Look at the tool bar, you will get to see a pen icon which is the pen tool. Click on the icon and you will see a pen appears on the screen. There is another very easy and time saving way of activating the pen tool. Press ‘p’ on the keyboard and the pen tool will be activated.
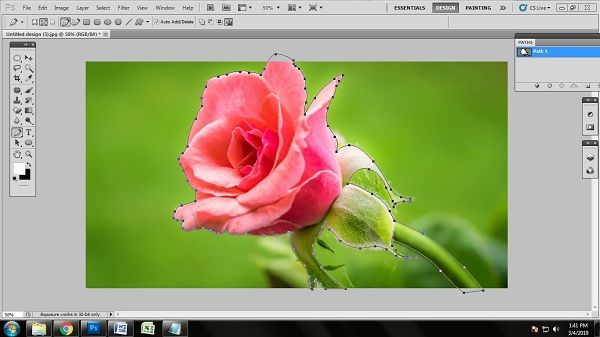
Create Clipping Path
There are few ways of removing the background from its respective objects. But the best way of background removal is the clipping path. So we are also going to go with the clipping path method. As we have already activated the pen tool, we are going to draw the clipping path over the flower image. Take the path layer named ‘path 1’.
Zoom in the image up to 100% and start drawing the clipping path. Put the anchor points in the required places. Break the anchor points pressing ‘alt’ on the keyboard when you get the curves in the object.

Keep one thing in mind that, you cannot leave any place of the object and cannot take any part of the background inside while drawing the clipping path. Close the anchor points to the place you started by joining all the anchor points.
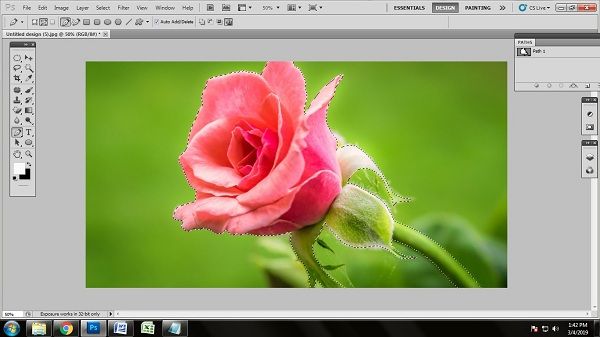
Make the Selection
To remove the background successfully, we need to make the selection of the clipping path we have drawn over the flower photograph. As we are done successfully drawing the clipping path, now it is time to make the selection of the masked area.
To make the selection, click on the path layer we have worked on. Now press ‘ctrl+enter’ which will enable the selection of the path area of the photo. You will see many dots moving around your selected area like ants. That indicates that the path you have worked on has been selected. We have almost done 98% of the work.
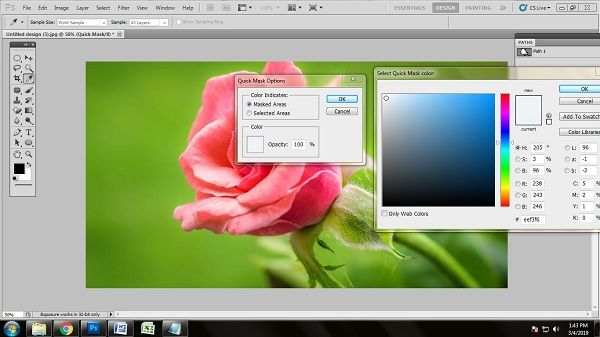
Background Color Selection
Background color is very important to make the object stands out. Never select the background color which is as same as the object. Select a color which helps your main object to shine. To choose the background color, click on the ‘edit in quick mask mode’ from the tool bar. Clicking that, you will get a box containing many colors. Here, we have selected white as the background color. Select the color and click on ‘ok’ or press enter.
Remove the Background
Press ‘q’ on the keyboard after making the selection. When you will press ‘q’ on keyboard, the background will be removed automatically.

Here’s the flower photo before and after background removal
Conclusion
Photos are very important for an e-commerce website to run their business. Photo editing of these flower photos will help to boost the conversion rate. These two flower photo editing techniques are important to enrich the quality of the product photo. If you know these flower photo editing techniques, you can save your money if you can do it by yourself. So try these editing techniques using Photoshop and be a professional photo editor.