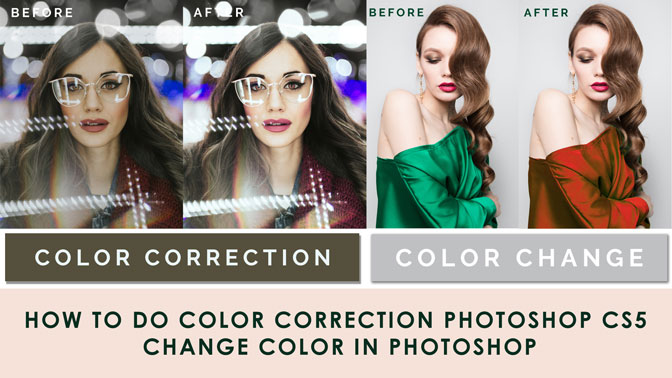
There are lots of editing techniques for increasing the attractiveness of an eCommerce product image. You can use Photoshop to remove its background or change the background of an eCommerce product to white.
Then you can reduce the spots and dent on it using the healing tool and can create a mirror reflection of the product. Mirror effect suits products a lot and it also helps to increase the conversion of the business.
In this article we’ll show you the steps for adding mirror effect using Photoshop and we hope that you will find it helpful and can do it yourself. So let’s start without waiting further.
Related: Check our Reflection Shadow Service | Mirror Effect Service and get Discounts on Bulk Order!
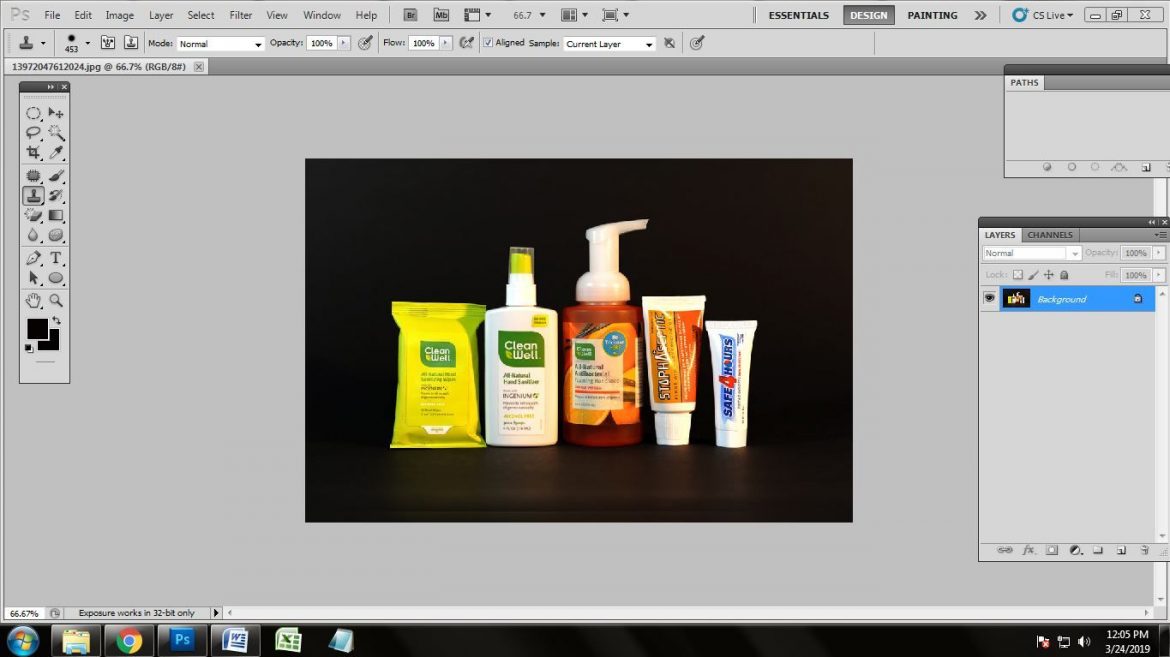
Open the Photo
As we want to edit the photo in Photoshop, we need to know how Photoshop works. We have to have a vast knowledge before editing photos in Photoshop. In order to start, we need to open the photo at the first place. The first and foremost thing to do to edit photos in Photoshop is importing the photo in Photoshop. It is obvious that you have to open the photo to work in Photoshop. Importing the image means opening the photo. I’m saying the thing because importing work may found confusing to some people. Anyway, let’s proceed to the first step.
To import the photo in Photoshop, there are simple ways which are Manual and automatic techniques. The manual way of importing an image in Photoshop is go to File>Open. You will get a windows box. From the windows box, go to the drive you have your desired photo to edit. Click on the photo and click open. That will manually import the photo in Photoshop. You can also open the photo automatically. Go to the drive you have the photo in and drag the photo in the Photoshop bar. That is how the photo will be opened automatically.
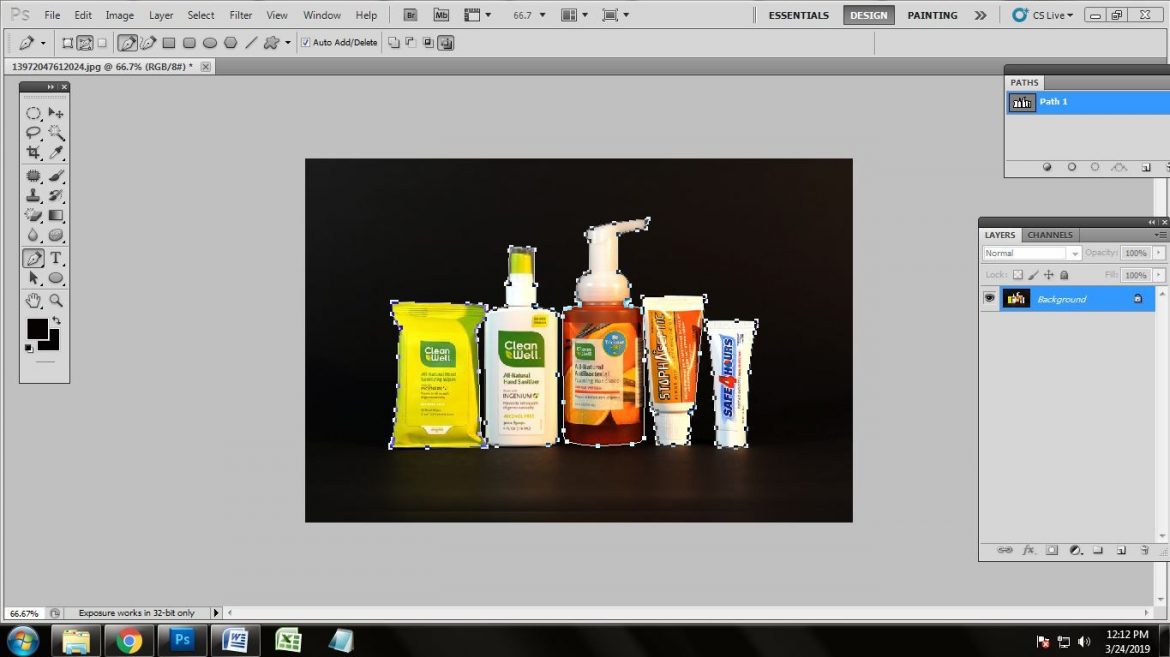
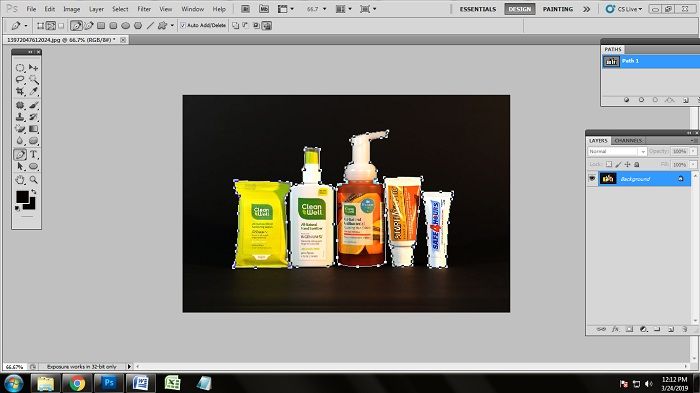
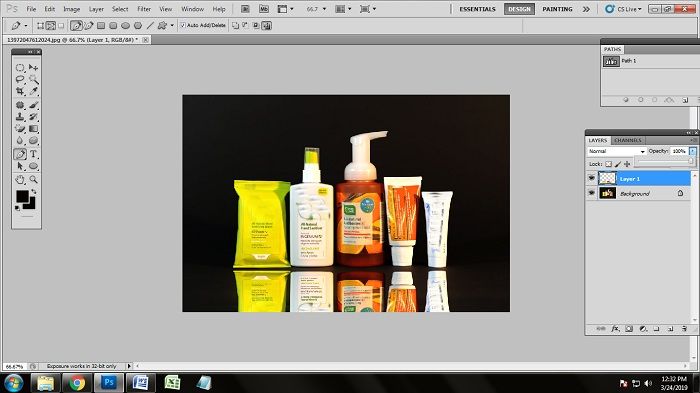
Create Clipping Path
There are different ways of adding a mirror effect into a photograph. The method we will use in the second step is to create a clipping path over the object. There is actually not only one object but there are few objects we can see. We have to create clipping path over all the products.
At first you need to take a path layer from the layer panel. People use different tools to create clipping path. We are going to use the pen tool here. To activate the pen tool, click on the pen icon from the tool bar or press ‘p’ on the keyboard which will automatically make your pen tool activated.
After activating the pen tool, create the clipping path over all the objects using pen tool. We have drawn different paths because there are some spaces among some objects. Put the anchor points in right places and close them accurately.
Make Selection
After creating the clipping path over the entire photo, we need to make the selection of the path area. After creating the clipping path of the man successfully, we need to make the selection of that clipping path. Without selecting the path layer, you cannot make the shadow perfectly. So it’s time to make the selection. Making the selection of the clipping mask is quite easy to do. Click on ‘Path 1’ and at the same time press ‘enter’ on the key board. You can also press ‘q’ to ensure that the background is perfectly being isolated or not. The entire clipping masked area will be selected after doing that. Only after making the selection, you can proceed to the next step.
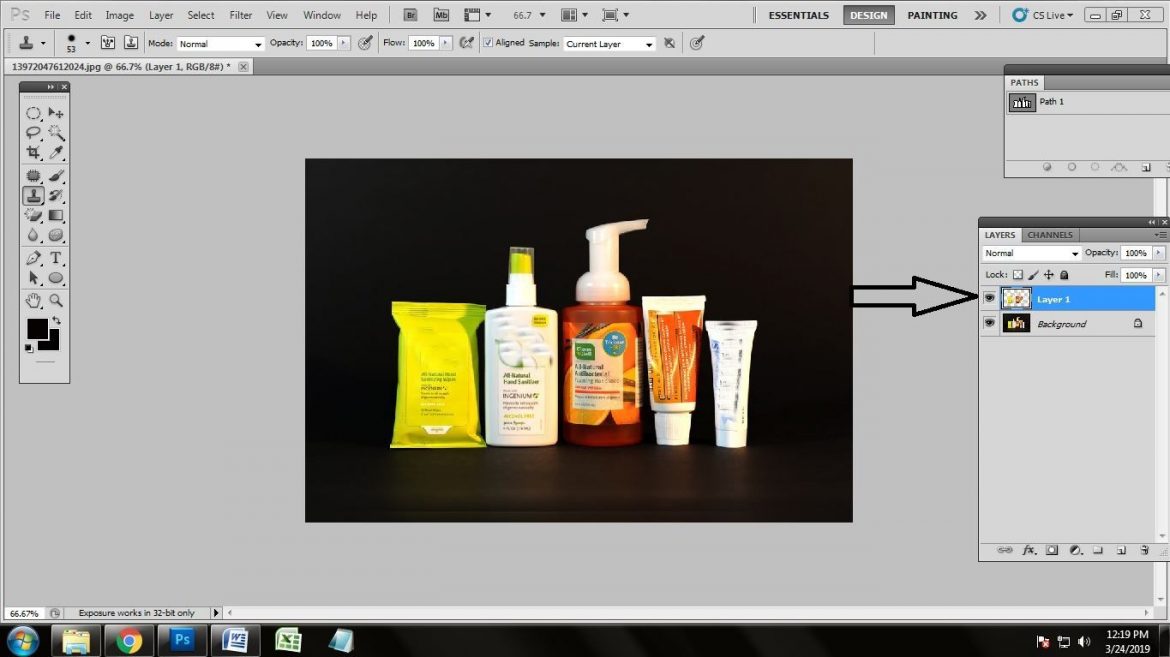
Create Transparent Layer
After selecting the product’s area from the image you will need to separate it from the whole image to create a reflection of it. So to do this we will need to cut out the selected area and make it a new transparent layer. To separate it chose the selection and click Ctrl+J it will copy the selected area and will make a transparent layer of the products image. Then you can transform it to make a reflection of the product’s image using transformation tool.
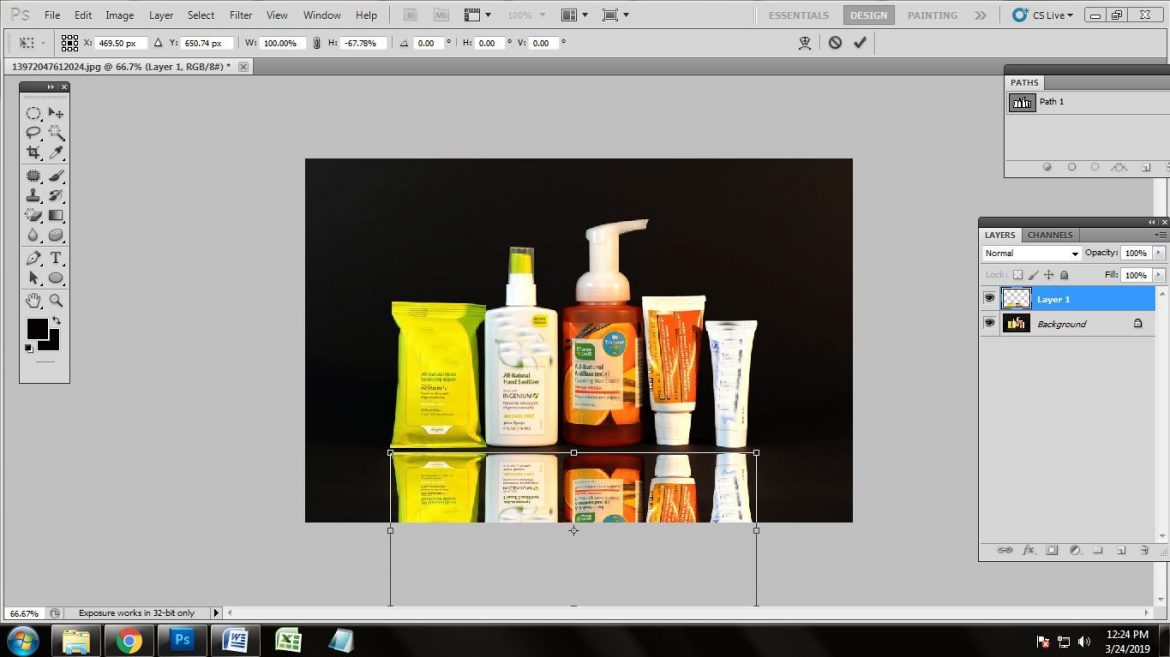
Select Free Transformation Tool
We will need to us a transformation tool for making the reflection of the product image. Our concern is to keep the image as natural as we can. For this make sure the layers are perfectly aligned with each other. After aligning the layers choose the transformation tool from the tool bar, it is also called move tool. To activate the transformation layer go to edit > Free transform. This will let you rotate the layer properly.

Make Rotation
Now we will need to rotate the transparent layer to make a reflection. To do this, select the transparent layer of the product. The rotate it 180 degree. And you will see that the transparent layer has rotated perfectly and are aligned with the background layer properly. Keep the layers in a distance with each other to make the image look original. Reflections are supposed to be a little less dense. To decrease the density we’ll need to make some alterations to its opacity.
Set the Opacity
Decreasing the opacity will make the image look completely original and naturally clicked. For decreasing it we’ll have to choose the transparent layer and go to the opacity bar on the top of layer box. Using the opacity slider, lower or decrease the opacity. You can also use numerals like we used 50% opacity. This makes the image have perfect reflection of the products.
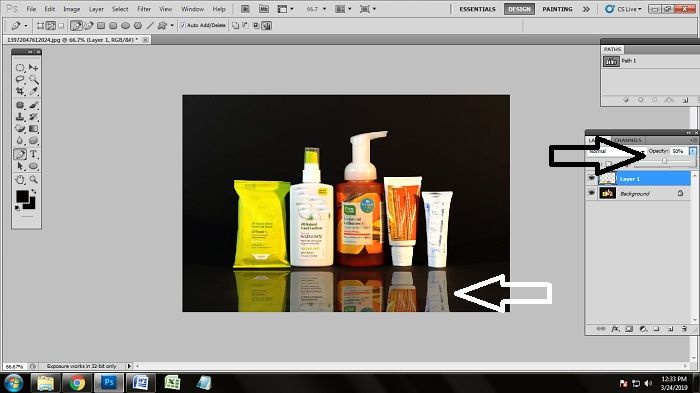
Mirror effect
This is how the image will look like after applying the mirror reflection technique. Image reflection has given it a new look and perfection.
Conclusion
The image reflection or mirror reflection technique looks good on products that have a reflective surface. If the surface where the products have been place doesn’t have a reflective surface then applying this effect won’t suit it. It will make the image look dull. Using the steps given above you can easily change the outlook of your product image and can increase conversions easily.