E commerce product sellers are always in a need of a professional photographer these days. It is because; the sales of all the eCommerce businesses are growing rapidly. As they are selling products online, the need for an attractive product image has become vital. It is the job for a photographer to capture a sharp and attractive image of the product. If the product photo isn’t sharp enough, customers won’t be able to check the quality of the product perfectly. To increase the conversion rate an eCommerce business aims to showcase a clear image of the product. They want the images to show each and every detail of the product.
Here are other articles you might be interested on reading, these are also related to eCommerce product photography tips –
• 9 Beginner guide for Unique Product Photography
• 9 Effective Product Photography Techniques
• Shoe Photography Tips for the professional photographer
To capture a clear and sharp image of a product a photographer should focus on adjusting the light properly. Lighting condition helps to capture the details of the product accurately. Because a camera lens captures a clear image of the object which reflects better light. So in short, a better the lighting gives a beautiful the image.
In this article we’ll give you some product photography inspiration, especially about large product photography lighting and small product photography lighting. Hope you will learn a lot from this article and you will also be able to apply these tips to capture a great and sharp product photograph.
Tips
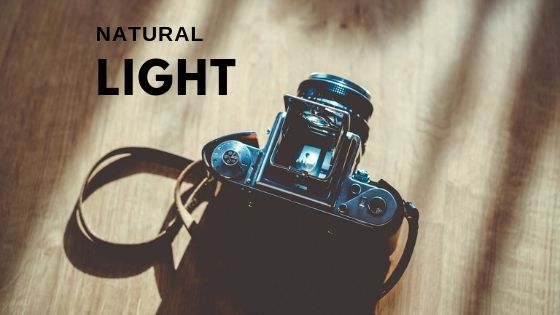
Natural light
The most useful and free source of light for capturing a sharp image is a natural light. Natural white light is a very effective source of light for product photography. You can get natural light from the sun. But the question is how can you get a white and soft sunlight?
Well that’s easy. You can place your product near a window and use a white curtain. A white curtain will turn the sunlight softer and will act as a softener. But there is a slight little problem while capturing product images using natural light of the sun. It will cast a shadow behind the product. It will only add sharpness to one portion of the product which is facing the sun and the other side will not look that much sharp. This is also not a matter to worry because every problem has a solution. The solution to this problem is that you can use a reflector to reflect the sunlight on the dark, less sharp portion of the image. A reflector can be any object which is shiny. You can use a foil paper to reflect the sunlight on the other side of the object. A shiny surface reflects more light. This way you will get an image which has a perfect lighting and shows all the details of the product image.
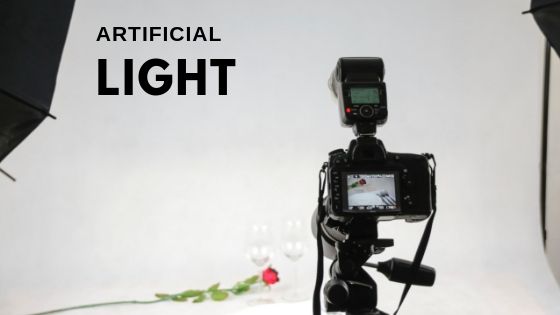
Artificial light
Another light source that can be used for capturing product images is an artificial light. Artificial light can be anything which comes from any sort of light source made by humans like a tube light, spotlight, bulb, etc. It can be any type of light except natural source like sun.
Most of the photography which is done indoor on photo studio artificial lights is used. It also helps to increase the sharpness of the product image. One big advantage of using this light source is that you can manipulate its direction and quantity. There are some methods of using this light source which are explained below.
Methods of using an artificial light –
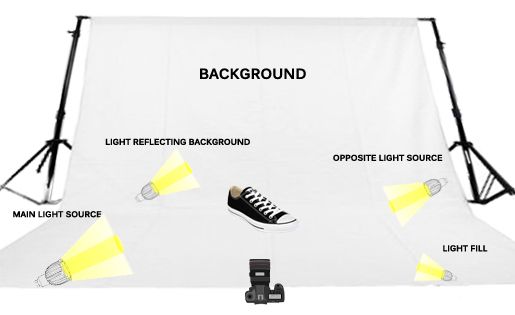
There are few methods for setting up lighting on the product for capturing its image. You will overall need four light sources for it. One light should be on the front of the product at 45 degrees. Another light should be behind the product at 45 degrees. One light will be used to just fill the scene with light and another one should reflect the background color on the product. This way the product will have light from every angle and the image captured by the camera will look sharp and clear.
Front light
A front light can be any light source that you want to add to show the products front part properly. It should be at an angle of 45 degrees. And this will make the image sharp from front.
Back light
Backlight will get used to cancel out the shadow of the product or to just make the shadow softer as we won’t need it. It balances the quantity of light falling on the object. It should also be placed at 45 degrees on opposite side of the front light.
Fill it
A small light source should be used to fill light on the overall scene. This will adjust the quantity of the lights falling from all direction on the image.
Use a background reflection
Adding a reflection from the background will properly balance all the lights falling from four directions and the center of focus will become the product. This increases the clarity of the product image.
Here is a product photography lighting diagram which will tell you how to exactly place the light sources around the product –
Tips to make the lighting better
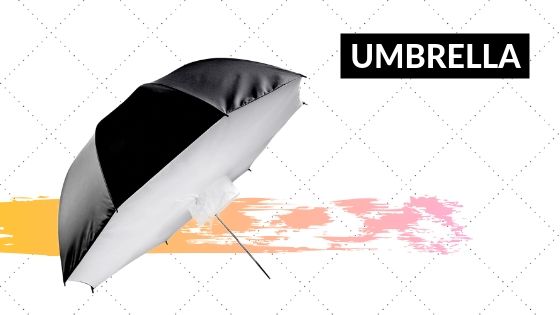
Use umbrella
Using an umbrella in front of the light source will make the lights falling on the product softer. Soft light will soften the shadow of the image. It will accurately set up the quantity of the light falling on the object and will make its texture soft.
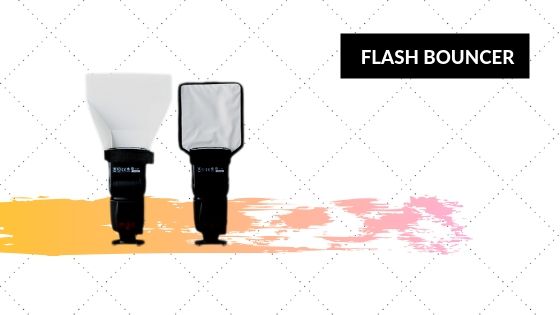
Use a flash bounce card
If you’re planning to use a flash light then make sure you use a bounce card. Light coming from the flash is very hard and destroys the quality of the image. Using a bounce card will help you to use the light of the flash indirectly as a reflective light. This light is soft and makes the texture of the object perfect and details sharp.
Softbox for product photography
There is some special box shaped lighting material for making the flash light softer. It is known as a softbox and this box helps to soften the hard flash light. Placing a flash behind it and using a wireless connection on the camera you can control it. When you will click on the shot button it will enable the flash to glow within a second and the soft-box will soften its quantity. This way softbox can be used perfectly on products.

Use a light box
A light box is a small box where you can place an artificial light source. This light will get scattered all over the box and will make the inside glowing. You can place the product inside the box and capture its image. It will be sharp as the quantity of light falling on the object will sharp and from all angles.

Conclusion
There are various ways you can use lighting techniques to improve your product photography. A lighting technique will allow you to sharpen the quality of the product image and will make it look attractive. Following the tips given above you can easily capture any sort of product image using both natural and artificial light. A product photographer is valuable to everyone as the eCommerce businesses are growing. So use such lighting tips and improve your photography and make your clients happy.