Different types of photographers choose different photography type to shoot. Not every photography is easy. In fact, no photography type is easy until you know the techniques. Jewelry photography is one of the toughest in all photography types. Jewelry photography becomes hard and costly because pieces of jewelry are delicate and tricky to photograph. To cut the cost, you can actually do jewelry photography by yourself. Here are some DIY jewelry photography ideas are given below.
Prepare your Jewelry at First
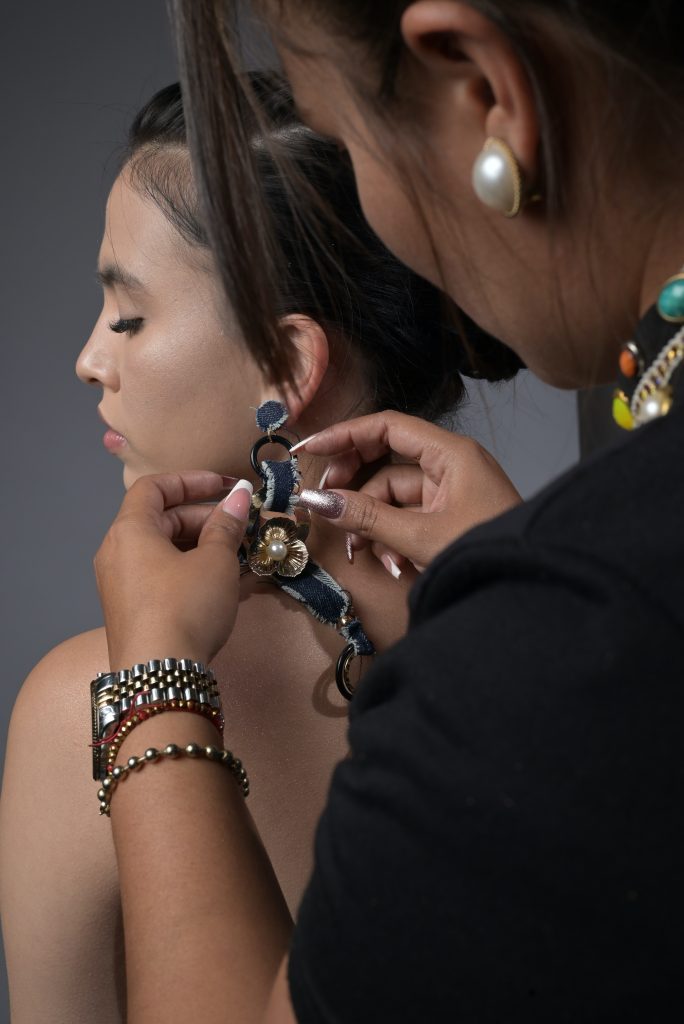
Jewelries are sensitive and delicate. A jewelry might contains diamond, stones, metals and many other shiny and glossy elements. If you are doing jewelry photography at home, the first thing you should do is preparing your jewelries. You have to clean the jewelries well by the help of soft clothes and gloves. Your jewelry photos will not look good if it has any kind of spots or scratches. It will be beneficial for doing jewelry photography at home. You can also retouch jewelry photos from an expert.
Use good quality camera and lens
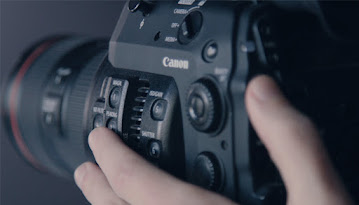
For good photography, good quality camera and lens is must. As jewelry need a lot of focus to give, you have to get high quality camera and lenses. Canon or Nikon camera body would be the best choice for good jewelry photography. Talking about lenses, macro lens is more suitable or jewelry photography as well as the wide angle lens. Wide angle lens helps you to shoot the entire scene and macro lens helps you to take close shots.
Use a Tripod
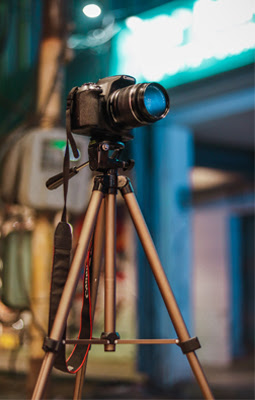
Your photographs might come shaky while doing photography as a beginner. Your photos should not be shaky for jewelry photography. To solve it by yourself, use a tripod instead. The tripod for jewelry photography will help you to set the camera in one position and you can shift it to any angle. You don’t have to run with the camera. Instead you will be able to ignore the shakiness and the time will also be saved.
Use Natural Lights
Lighting is one of the key factor in photography. While you are doing jewelry photography by yourself, you have to look for source of lights if you do not have a lighting kit. Even natural lights can give your better lighting sources than artificial lighting. If you have a big window or sunroof ceiling at your house, let the sunlight come inside your house and click jewelry photos using that sunlight. You can also click photos outdoor to get the natural lights for your jewelry photography.
Use White Foam Board
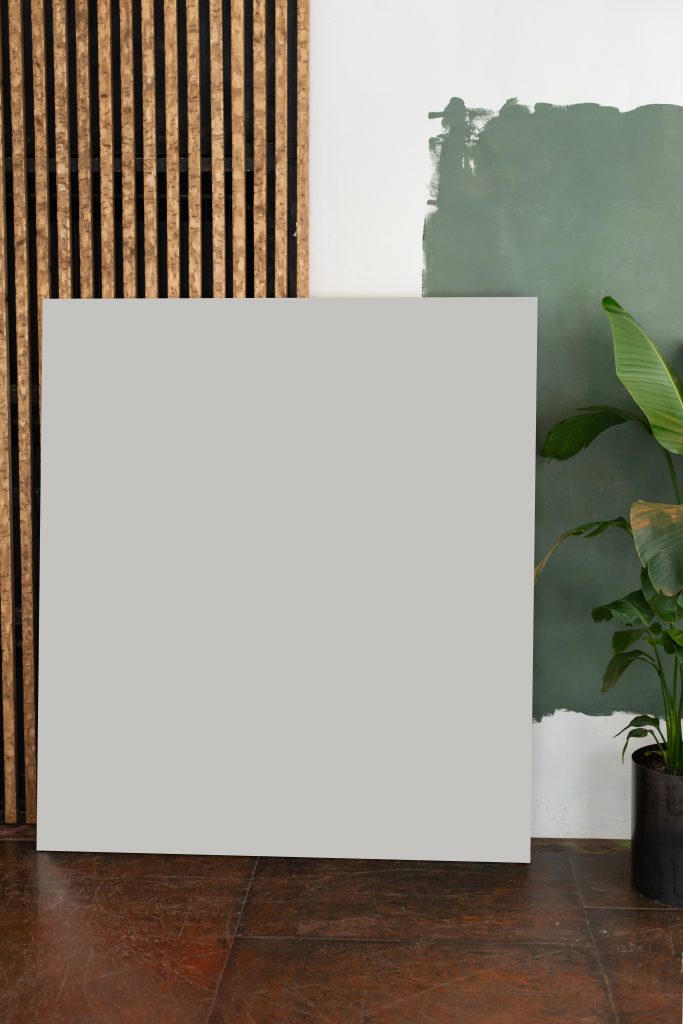
There are a few cheap and cost-effective elements you can use while shooting jewelry photographs at home. White foam board is one of the cheapest things which you can get in the market very easily as well. Using a white foam board against the light to reflect more lighting on the jewelry product you are shooting.
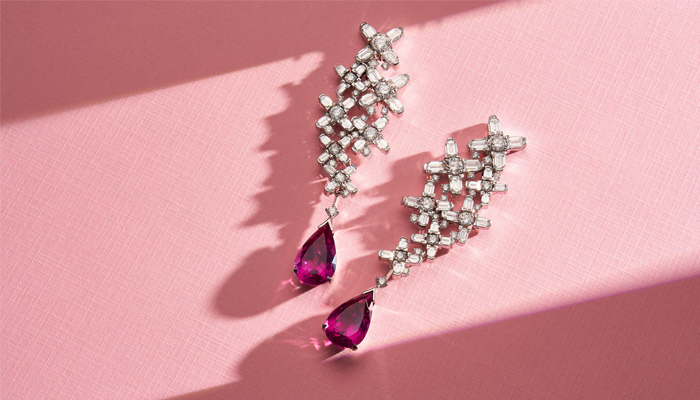
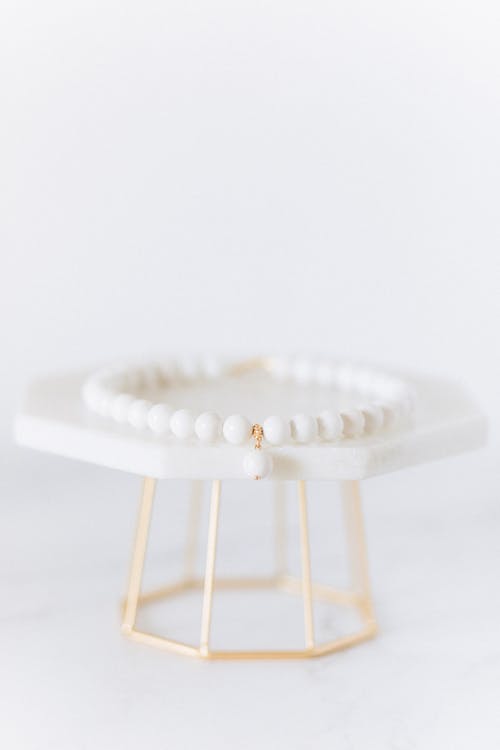
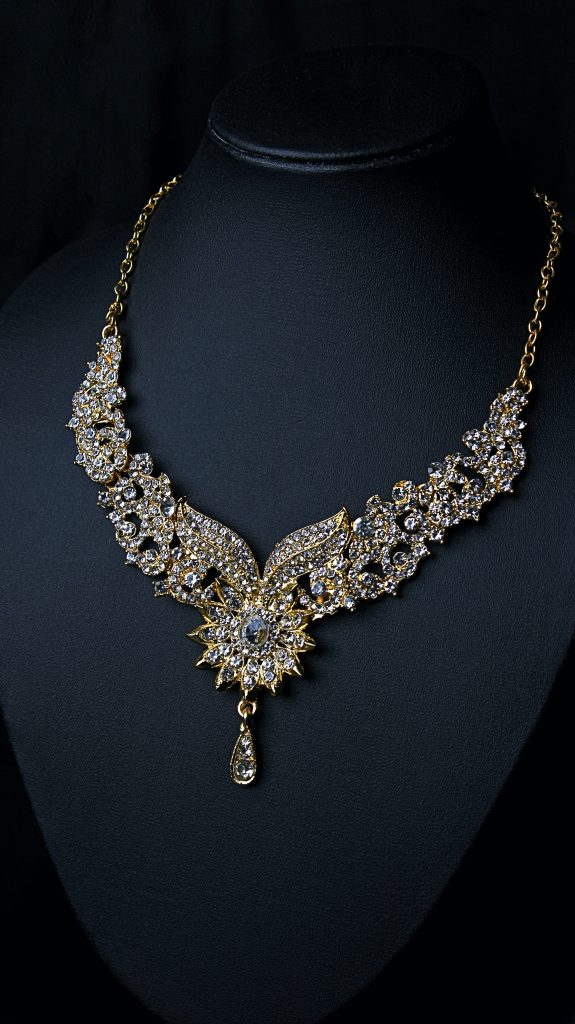
Shoot at a simple Background
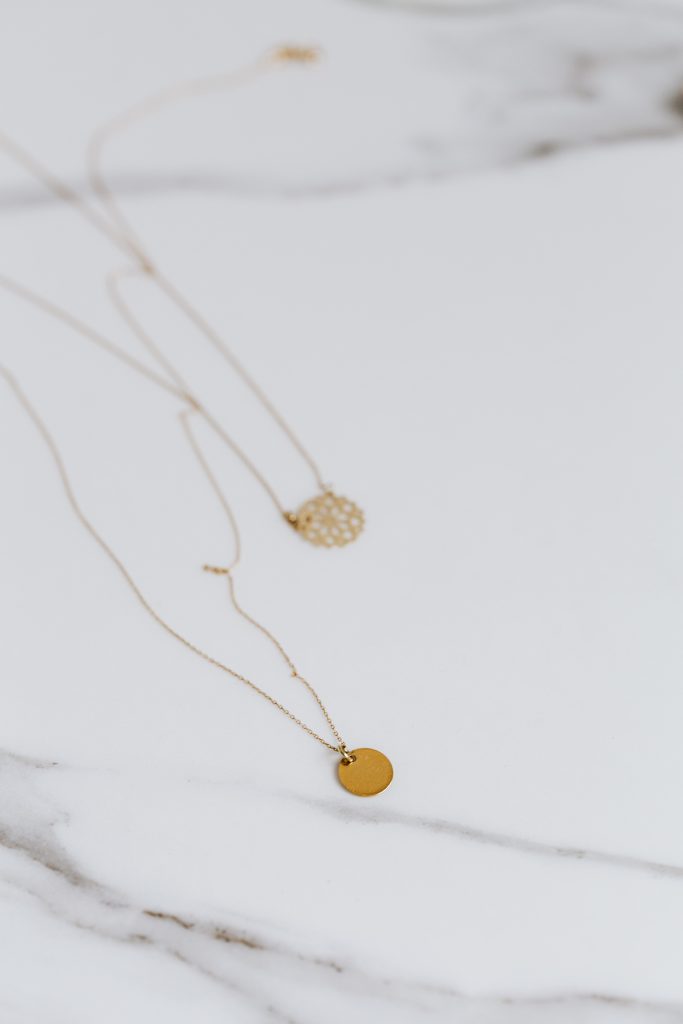
Jewelries are indeed gorgeous. There is no point of shooting jewelry photographs if your jewelry does not stand out. This is one of the effective DIY jewelry photography tips I am giving. When you use a gorgeous or multi colored background, your jewelry product might not gather much attention. So you can just use simple solid colored background. The best part of using simple solid color background if, it is easy to get or make and cheap as well. You can just buy some roll hard papers of any solid color or even solid color curtains to shoot jewelry photos at home.
Take help of a Table
When you shoot for a delicate object, especially at home or by yourself, you have to keep many things in mind. You should not shoot jewelry in the bed or any soft place where your jewelry could be damaged. Hence you can take help of a table. Place your jewelry on the table so that you can get more space. It will make you easier to do the photography. Do place the table close to the lighting weather you are shooting on natural light or set of additional lighting.
Use Props
People get bored by seeing same plain jewelry photos all the time. But you can make your DIY jewelry photography more interesting if you add prop/props into your jewelry photography. Adding some props such as mannequins, plastic hands or any kind of materials will give your jewelry photography an interesting look. But you have to be careful while choosing the props. Wrong and too many props might backfire your jewelry photography.
Get a Lightbox
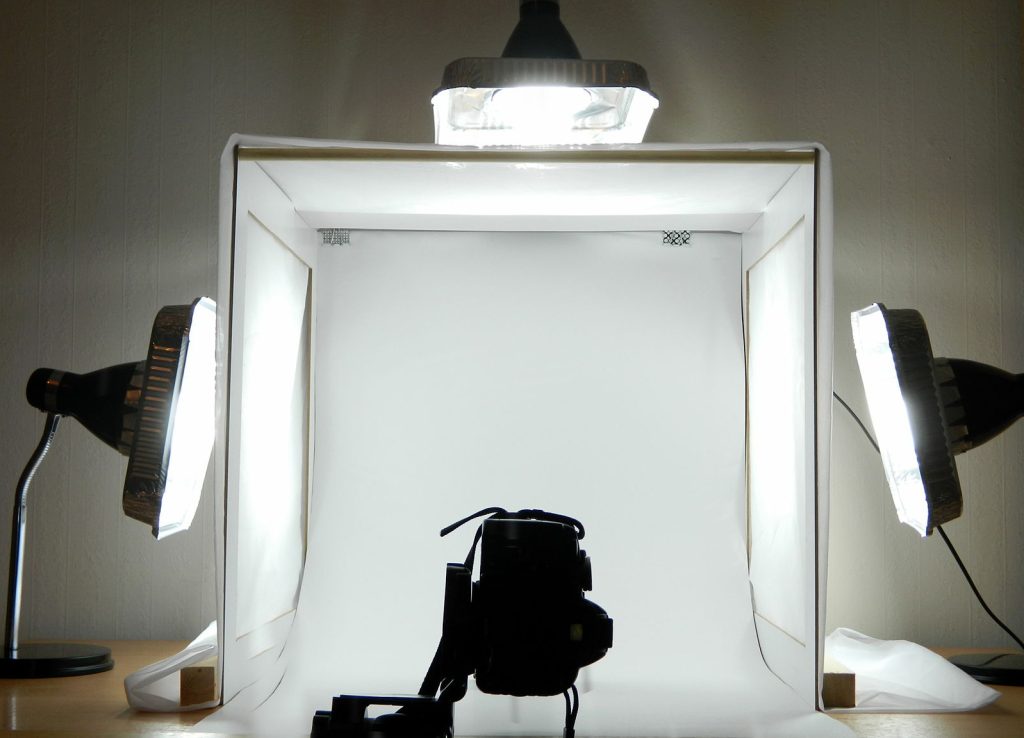
Background is a very important thing in photography. When you will talk about product photography tips, usage of white background will be spoken about most of the times. A lightbox is a portable box that consists of lightbulbs and white background. You can just place the jewelry product into the box and click amazing jewelry photos. The benefits of using a lightbox are, it is not expensive; it does not need a lot of space; you will get a white background which will make your jewelry product the hero. So it will be the best if you get the lightbox to shoot your jewelry photography.
Photo Editing
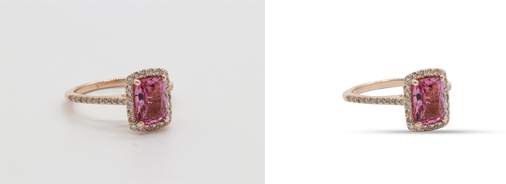
Photography of jewelry products is not easy. You may find a lot of faults in a jewelry photography. Hence the photo editing is the right solution. You can go for different kinds of photo editing if you see any flaw in your jewelry photographs. For example, you can take a clipping path service for removing or changing unwanted background, removing reflections, spots and blemishes by photo retouching, adding natural shadow by drop shadow, adjusting color with color correction etc. If you do not know how to edit jewelry photos, you can just outsource different photo editing companies to make your jewelry photos flawless.
Conclusion
So these are few DIY jewelry photography ideas out of many to try at home. Trying these techniques, you might get close to the professional photography. These ideas actually turned out to be effective to many jewelry photographer. So try these out for boosting the conversion rate.