Before we jump into our furniture photography tips you should know that. There’s a well-known saying that people eat with their eyes, but it’s also the case that people buy with their eyes too. Beautifully shot products listed on a website will undoubtedly sell more than those which are not photographed correctly.
So, if you’re considering eCommerce, product photography needs to be a vital part of your marketing plan. While there are many principles shared across categories of items sold online, you can take some different steps to make sure your furniture listings stand out above the rest using these amazing furniture photography tips.
Preparation is key
Attention to detail is vital right from the get-go; you need your items to pop in the picture. You can do many little things to help move things along; first of all, ensure the piece of furniture is in tip-top condition. Remove tags and anything that could distract the eye, polish metal, wood, or leather with the appropriate product. If you’re selling used items, don’t be afraid to show the imperfections. Please don’t focus on them, but letting the potential buyer know about them will be appreciated.
Choose the right camera
Of course, you can have the most stunning piece of furniture, but if you don’t choose the right camera to take the picture, the item can lose some of its appeal. While it’s easy to whip out a smartphone that can take impressive images, modern cameras are still streets ahead. The Canon EOS M50 is a good mirrorless option, but medium format cameras such as the Fujifilm GFX and Hasselblad 907X are the stand out choice.
These are best known for their high-quality images and perfect color accuracy, making them excellent for photographing furniture. Also, pairing it with the right lens is crucial; a 50-75mm lens such as the Canon RF 50mm is ideal for the job at hand and will avoid any distortion in the image.
Studio setup
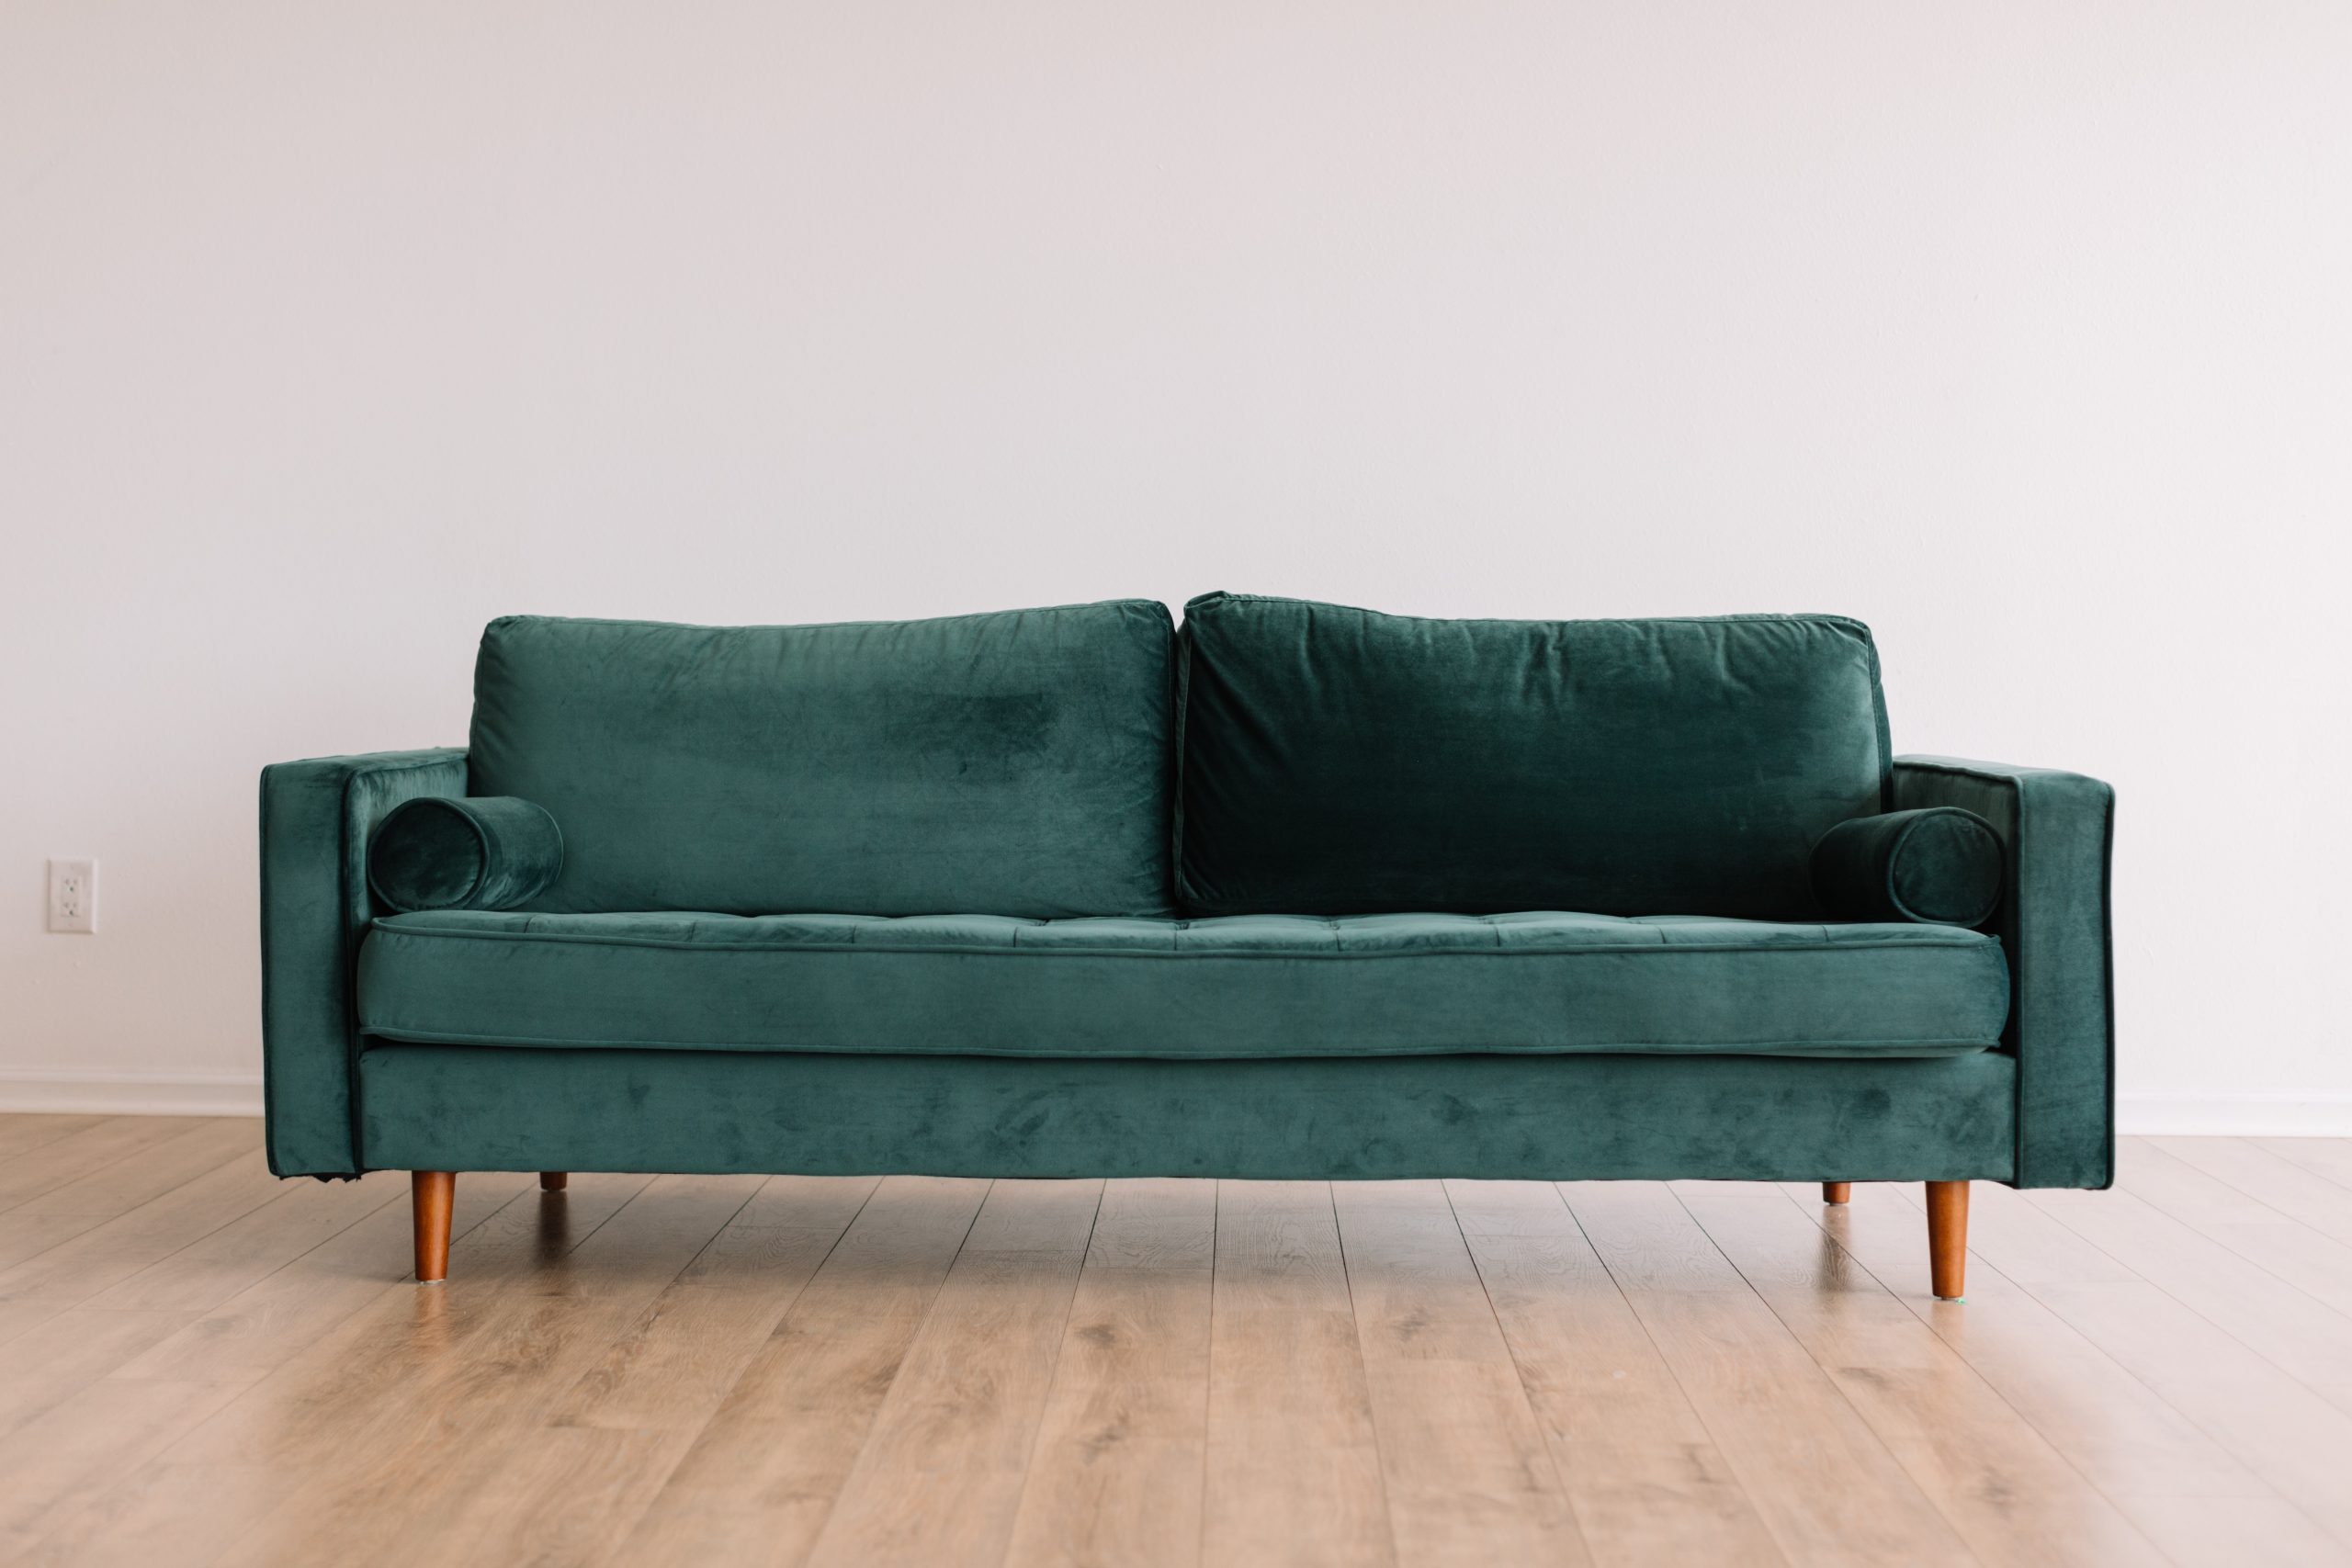
One of the most effective ways of shooting furniture is on the simplest of seamless white backdrops. That way, the potential buyer’s eye isn’t distracted by other things in the frame, and the item itself is the star, thus more alluring. For larger items however, if you have the space, setting up an area to look like an apartment, allows you to put the furniture ‘in situ and give the buyer a way of assessing how it could look within their home.
It’s great if you’re lucky enough to have an excellent natural light source. Still, external lighting gear is something worth considering because good lighting complements the subject you’re photographing. Look at something like the Ezylite Softbox Twin or Daylite4 MKIII set up to show off your furniture beautifully.
Shoot at multiple angles
Once you’re all set up, remember you want to be focused on showing your customer as much of the product as you can. However, don’t shoot the target from the front; it can look flat and unappealing. Keep in mind that the images are there to give the best representation of the piece of furniture as possible. Take multiple pictures from multiple angles to give the customer the best idea of what it looks like; after all, they can’t touch it on the screen.
Conclusion – Furniture Photography Tips
Once you’ve got all your images, you should be set, but don’t forget you can have your images edited to remove shadows or correct the white balance. So don’t be daunted if you don’t get it right the first time, but by using some of the hints and tips above, you’ll soon be taking the perfect picture and selling your first piece of furniture. All you have to do is apply them in your next photography project.

