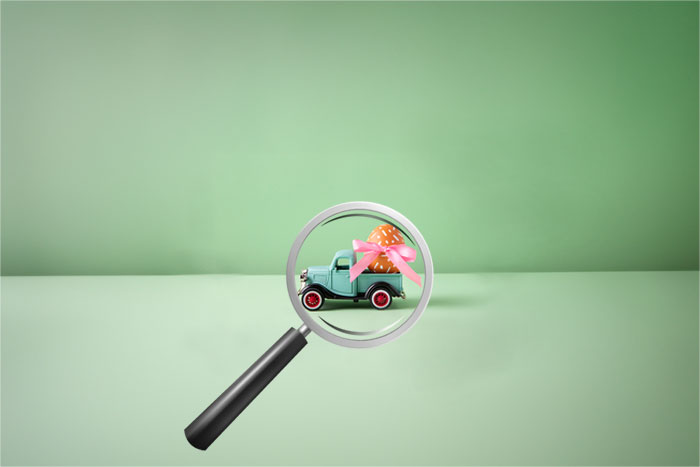
Well the toy industry in on the boom level right now. After the growth of ecommerce, Toys are getting sold like water. People all over the world are purchasing them through ecommerce shops and social ecommerce stores. One thing that is supporting the method of sales of this huge toy industry is the photograph of the toys. Toy photos gets used in various places while promotion. It gets used as the packaging cover, in printed advertisements and especially on the ecommerce sites. This is why the demand for toy photographers is high now. Both beginners and professionals are embracing this photography niche as a solid way to earn through photography business. Therefore to help you understand and utilize the actual methods of toy photography I’ll be giving out some of the major toy photography tips suggested by professional and experienced toy photographers in this article.
So without further adieu, let’s start!
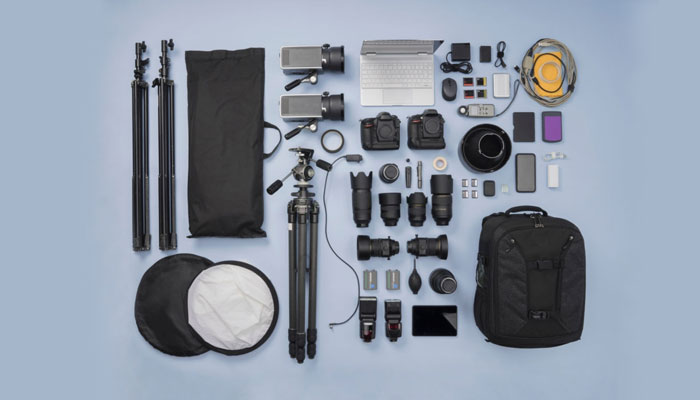
Gears and equipment
Toy photography is similar to product photography this means you can use the gears you use in product photography in this case too. The gear that you’ll need to capture toy photography is a camera, lens, lightbox, Softbox, reflective surface, reflector, flash, flash diffuser, tripod, filters, batteries, memory cards and your focus. If you have all of these gears and equipment in you cavalry then you’re good to go and do toy photography perfectly.
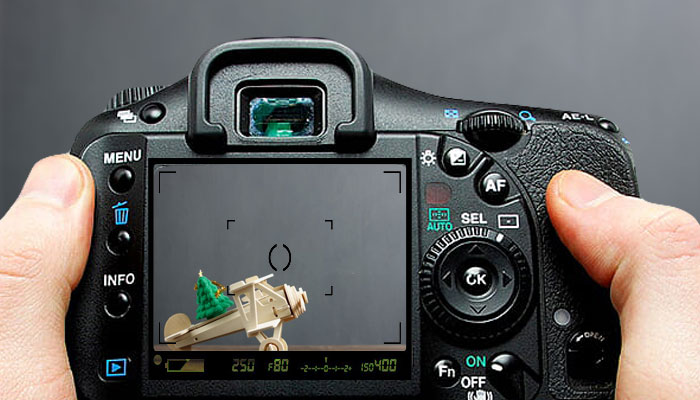
Camera setting
For a perfect photo of a toy the camera setting needs to be perfect too. When we talk about camera setting we actually talk about the measurements you will have to take of the Shutter speed, aperture, ISO and White balance. A perfect high quality photograph is the balanced mixture of all of them. For toy photography you will need a narrow depth of field. It means that you’ll have to focus on the toy and blur the rest of the area. This can be done using the depth of field effect. For this you will have to reduce the aperture and increase the shutter speed. Make sure that you don’t use ISO more than 300. Adjust the while balance depending on the source of light you are using or just keep it in auto mode for better photo. I recommend using the aperture priority (Av) mode for capturing toy photography.
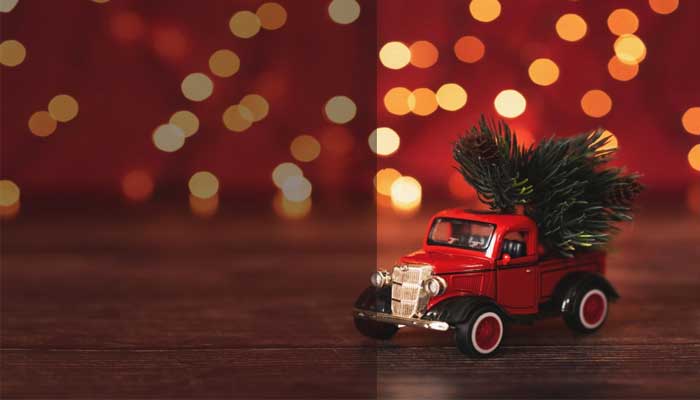
Capture realistic photo
Any photo of toy which looks realistic becomes more engaging. For promoting toy photos the best way is to make as realistic as you can. Action figure toy is a type of toy which looks like the actual character. These toys needs to be shot in such a way that it looks realistic because they are close to the real person playing that toy’s character. The higher the engagement the higher are the chances of conversion. So make sure you capture some realistic toy photography shots.
Find inspiration
Ideas and inspiration is the thing that always encourages a photographer to do better. Sometimes finding ideas for toy photography is tough. This is when you must see the work of other successful toy photographers and deduce from it the reason of their success. If you constantly follow their work on top photography social media sites like Instagram, Facebook, Flickr, etc you can get inspired and will get new ideas for your shoot. So stays alive on such photography related social sites and keep getting inspired. Then implement those ideas on your work and carve your way towards success.

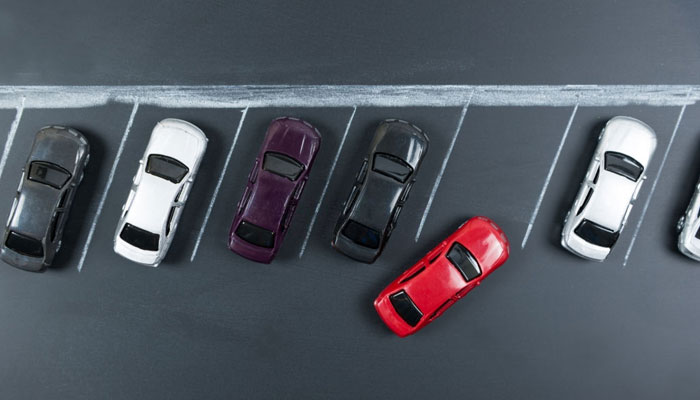
Capture from unique perspective
Perspective is something that separated you from the class of other photographers. Only those photographer’s work shines who have implied their own perspective in the photograph. This is why toy photography if you can see the toy from a different perspective which no other photographer would think about then you can capture an image that will send your career to cloud nine. So use your different perspective and capture unique toy photography.
Use a clean background
Background plays a vital role in every kind of photography. Likewise, in a toy photography, background matters a lot. Toys usually are very much funky and colorful. If you use some gorgeous background or clattered background, it will make your toy photography look gaudy. Always try to use simple and clean background in order to get fresh and good toy photographs. You can use a solid color background while you are doing toy photography. Nowadays you will get lightboxes in the market which is portable and consists of solid color background and lighting. You can just put the toy inside and click photos. You can also outsource background removal from clipping path service provider companies like us for better quality images.
Use reflection
Reflections are the symbols of something being natural. Reflections bring an important element in your photography. If you want to make your toy photography looks realistic, then you should add reflection in it. But you should know how to add realistic reflection into the photograph. You can use some glass on the surface of the toy or place the toy on the glass. That will help you to create a reflection while you are doing toy photography. This also will make your photos look realistic and out of the box. Using this concept would be very beneficial for your toy photography and this is one of the best toy photography tips.
Zoom in
Some toys are small and some are big. In a photograph, sometimes the small toys look bigger and sometimes the bigger toys look small. It is not about the size of your toys, it is about how to you does photography. If you are clicking the photo of a small toy, you can do something different. Play with your lens and zoom-in a bit while you are doing toy photography. You can also call it macro photography. You need to know some hacks of macro photography before doing that. So zoom in your lens and click photos of toys my zooming in. You will get some extra-ordinary photos.
Go for post processing
Every time you do photography, might not be in your favor. Sometimes your photos may not come out as good as you expected. Photo editing or post processing is the best way for you to remove those flaws from the photos and enhance the beauty of your toy photography. One of the most effective toy photography tips that I want to give you is to process or edit your photos. You may not have enough time to edit the photos by yourself. In that case, you can take the help from different photo editing companies. There are quite a lot of post processing companies in the world who work for photo editing. You can get any of your required service from them.
Use tripod
While clicking the photographs, you hands may get tired and the photos may come out shaken. To avoid that unavoidable circumstance, tripod is the best option for you to use while you are doing toy photography. There is different important equipment for photography you must use. Tripod is one of those. Tripods help you to hold your camera as long as you want. You can just adjust the camera on your tripod and click photos as per your requirement. You can get great photography by that which is not shaky.
Conclusion
In many types of photography, my favorite is toy photography. Toy photography reflects our childhood and no matter what, we do play with the toys even if we are doing photography. Keeping these toy photography ideas will give you some great concepts of toy photography. If you are willing to be a professional photographer then you must know these tips of toy photography. Try these techniques and make yourself professional.