Photography is spreading its magic all over the world. The whole world is not spellbound by photography. In a bunch of amazing photographs, there is one thing which is being used vastly for the sake of making the photographs look more luscious. It is photo editing techniques. There are lots of photo editing techniques which are used to edit photos. Photoshop Masking is a very famous photo editing technique which is used is used for isolating the background keeping the shape of the object constant. Masking is generally used when you want to remove the background but the object is having hairs and furs. That makes difficult to remove the background successfully just by clipping path. There are many photo editing companies who are providing different photo editing services to the world. Photoshop Alpha Channel Masking is also a part of masking.
Professional photo editors will give suggest you to do alpha channel masking to do the thing specifically. The advantage of using channel is you can see which color is going with the background and the subject’s fur or hair. This is one of the professional photo editing tips. When you will do masking, you can use different layers and different channels. Sometimes, channels help you to perform the masking technique perfectly. That is actually called alpha channel masking. Doing masking is not at all an easy task. Alpha channel masking is a part of image masking. As a beginner, you may not know how to do alpha channel masking.
Here is the step-by-step process of doing Photoshop Alpha Channel masking by you.
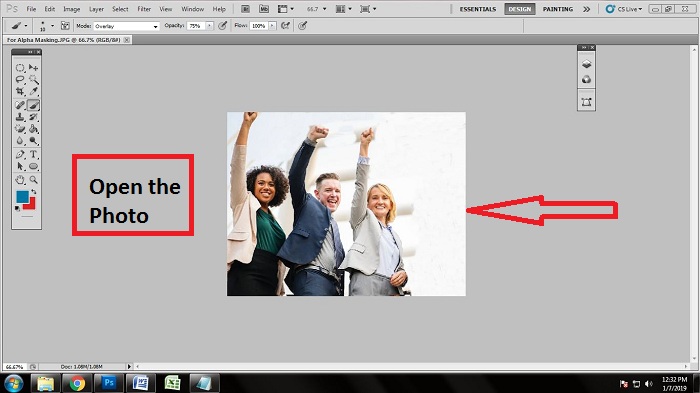
Open the Photo
Photoshop is the powerhouse of photo editing. To edit photos, you definitely need to open the photo into Photoshop. There are 2 ways of opening or importing the photos in Photoshop. One is automatic and the other is manual.
If you want to open the photo in a manual way, then just go to File>Open and go to the file location where your required file is. Click on the file and click on open or press ‘enter’ to put in the photo in Photoshop. If you want to open the photo in an automatic way, it is very simple to do. Just go to the file location on windows/MAC, and drag the photo to the Photoshop bar. Doing that, the photo will be imported automatically. Remember, the Photoshop application must remain open.
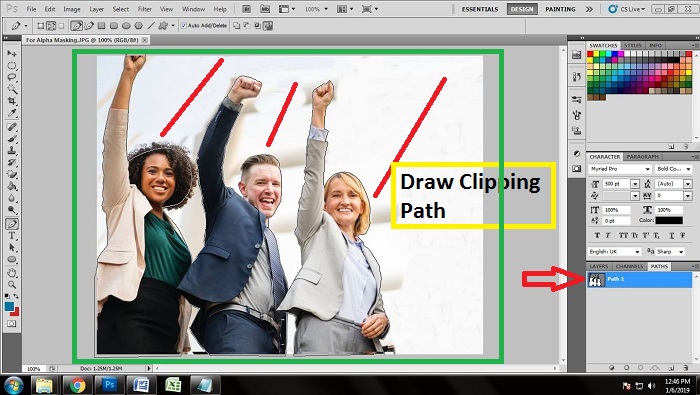
Draw Clipping Path
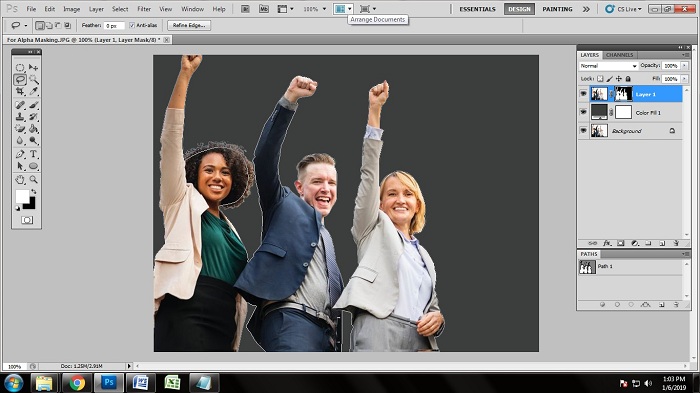
To remove the background from a photo, it is very important to go with a Photoshop clipping path. Clipping path is a photo editing technique which helps you to keep every shape of your main object constant and perfectly draw the path in order to remove the background from an image. You just have to know how to draw the clipping path. As you can see that there are three people in the photo, you have to create the clipping path over all three people. Do not leave any extra space while drawing the clipping path. It is not possible to draw clipping path over the hair perfectly though. So you can leave some areas surrounding the hairs. Use pen tool to draw a clipping path.
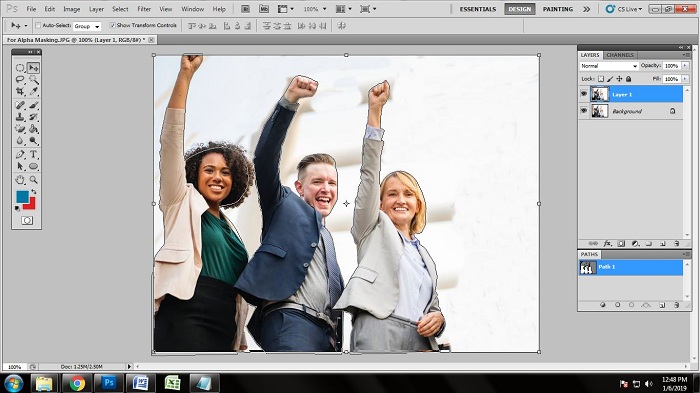
Add New Layer
Adobe Photoshop is best known for its layers. The layers work in many different ways. As we have just drawn the clipping path over the subjects of us, we need to add a new layer to work on. The layer would be the copy of our present background itself. To copy the background, click on the background layer and press ‘ctrl+j’. When you press ‘ctrl+j’, you will see a new layer appears automatically named ‘Layer 1’. After getting another background layer, we will proceed to the next work.
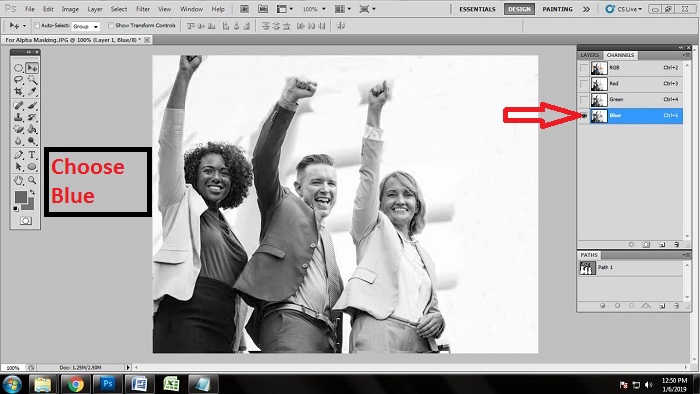
Choose Blue from the Channel
As we are going to do Alpha channel masking, we definitely have to go to the channel layer. After adding the new layer, we have to find out which channel works the best. You will find the channel box just next to the layer box. You will find three individual color channels which are Red, Blue, Green and one combined color channel which is named RGB (Red, Green, Blue). Click on every channel and see in which color channel your object’s hairs are more visible. I have clicked and checked on all the color channels and found out that the hairs are more visible in the blue color channel. To activate the blue color channel from the channel box.
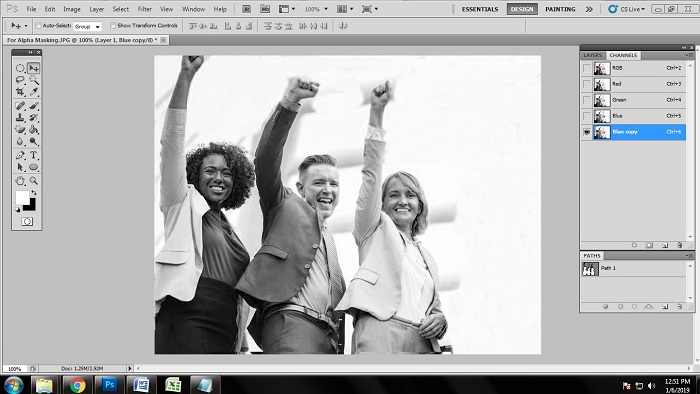
Copy Blue Channel
Every photo editing has a systematic way. So we will do the alpha channel masking in a systematic way too. In order to do alpha channel masking in a systematic way, we are going to copy the blue channel we have activated. To copy the blue color channel, drag the blue channel down to the square icon we can see on the bottom of the channel box. When you drag that the blue color box down there, a layer named ‘blue copy’ will appear automatically. The advantage of copying the color channel is, you can work more precisely.
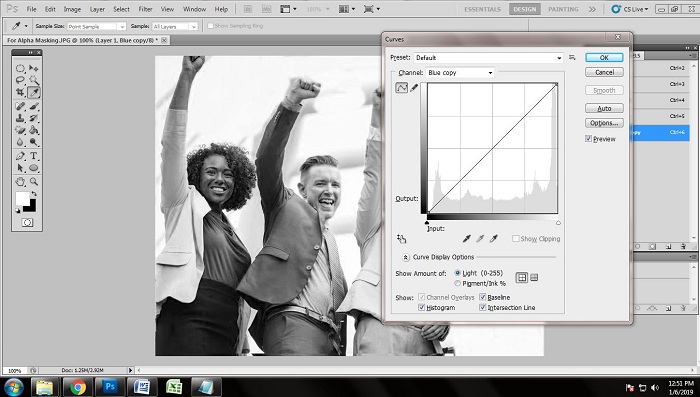
Adjust Radiance Curve
If you are still not satisfied with the color tone of the photo to do masking off, you can increase or decrease the color more. There is a tool named curve tool navigating which you can increase or decrease the amount of the channel color of the image. Here, we need some more black of the hair so that we can mask perfectly. Press ‘ctrl+m’ on the keyboard to get the curve box, doing that you will get the box. As the curve box has appeared in Photoshop, we are going to use the navigation line and move that up and down until we get out required an amount of the color. Press okay when you get your required color by the curve tool. Adjust the radiance perfectly so that you get to work properly.
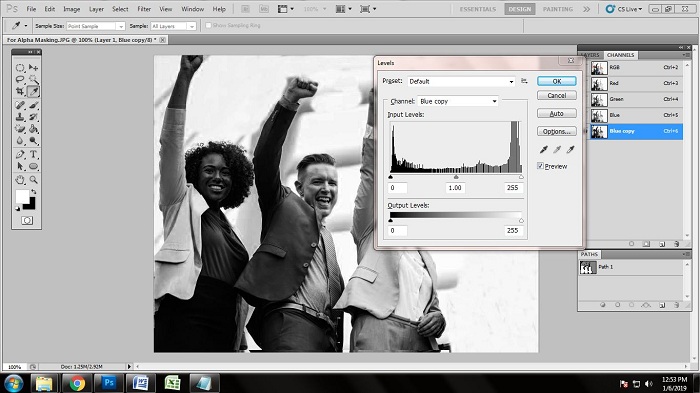
Adjust Level
Now in this step, we have to set the level of the color of the image. Setting the level is important because we need the perfect color of the hair so that we can remove the background without leaving a single hair. So we need to bring the level tool here. Press ‘ctrl+l’ on the keyboard to get the level tool. The level tool will also have a navigation bar to increase and decrease the radiance by using the slider. Use the slider and get your perfect radiance of the photograph. Press ‘enter’ on the keyboard or click on ‘ok’ when you get your desired amount of the level.
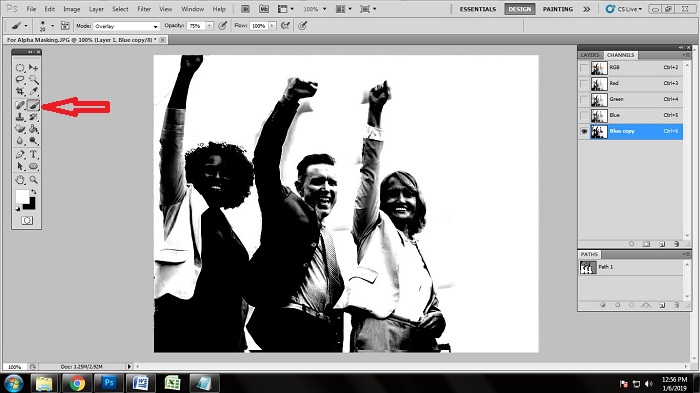
Take Brush Tool
After adjusting the level of the photo, we need to clean p some dust off the photo. Brush tool works best for that. Click on the brush tool from the toolbar. In the toolbar, there is an icon which looks like a brush. Click on the icon and the brush tool will be activated. You can also activate the brush tool by just pressing ‘B’ on the keyboard.

Rub the Brush near Hair Area
After activating the brush tool, you will get a circular icon on the screen of yours. You can also increase or decrease the size of the brush tool by pressing ‘[‘ and ‘]’ on the keyboard. Keep the size you need. When you have adjusted the size of the brush tool, you need to run the tool around the hair area. There might be some dirt around your hair area or come stray hair. Rubbing around the hair area will help you to get clean areas around the hair. But do not overdo brushing so that the other areas get vanishes.
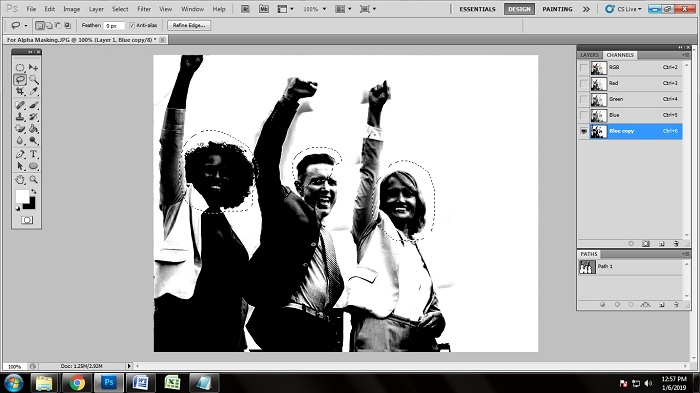
Make Selection with Lasso Tool
There are some selection tools in Photoshop. Lasso tool is one of them. Lasso tool is the freest selection tool which works the way you want. We need to make the selection of the photo now. Well, not the entire photo, but we will make the selection of the hair areas of all the people of the photograph. To do that, select the lasso tool from the toolbar. You will see an icon looking like a lasso in the toolbar. Clicking that, the lasso tool will be activated. With that lasso tool, just create a path over the 3 heads of the 3 people. Once you draw the path, the path will be selected automatically.
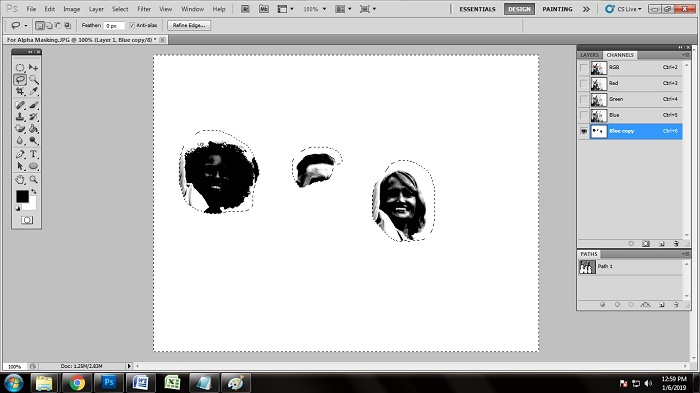
Making Inverse
As we have made the selection with the lasso tool, we need to get the inverse look of the photo in order to do the hair masking. When you will make the inverse, the entire foreground will be black. That is a major step to do masking perfectly. To do inverse, press ‘ctrl+shift+i’ on the keyboard. The moment you press ‘ctrl+shift+i’ on the keyboard, the photo will be inverted and the foreground will get black. It is necessary to do so that you can delete the background.

Delete the background
Making inverse, the entire photo with the hair part will be selected. Now it is time to delete the background keeping the hair parts constant. Deleting the background after making the inverse is very easy. To delete the background, just press ‘delete’ on the keyboard. After pressing delete, the entire background will be deleted except the 3 heads we made the clipping path with lasso tool of. Here, you can only see three heads with the white background. But the areas will still remain selected for the after works.
Add another Layer
After deleting the background, we need to add another layer. To add another layer, go to layer panel. Hold ‘layer 1’ by clicking the layer and drag that down to the vector mask icon. Doing that, you will get another layer of the background. You will get the older look of the photo back by doing that.
Take Solid Color
In the new layer, we need a new color of the background so that the masking can be significantly shown. Right now we are going to take a solid color of the image. Go to the layer panel and click on the adjustment layer. In the adjustment layer, you will get a dialogue box consisting of many options. From all the options, click the option which is on the top named solid color. Clicking that, you will get many colors to put in the background. Select your desired color from there and press okay.

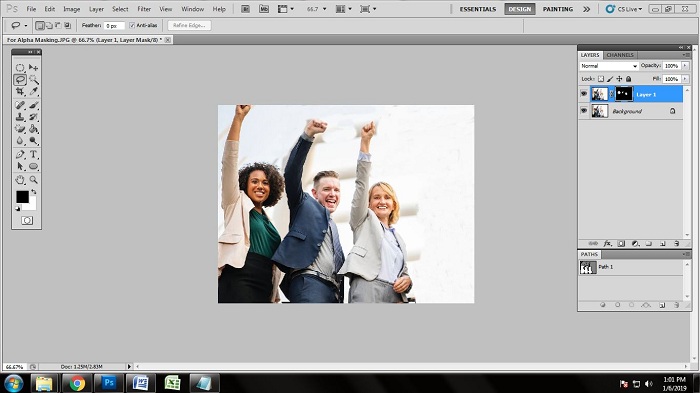
Make Selection
Here, you can only see the faces and hairs with the colored background. We need to get the whole body back of the people here. To get the whole body, you make to make the selection. Click on the work path and press ‘alt+backspace’ on the keyboard. Doing that, the whole photo will be selected and the entire subject of your get back and the masking will be done. Press ‘ctrl+d’ to complete the task. Here you can see that the background is removed perfectly keeping the hair parts constant.
Conclusion
Removing background is easy when you only apply background removal or clipping path. The path takes a lot of time and technique to do hair masking in Photoshop. It is very hard to do for the ordinary photo editors. Performing image masking is the work of professionals. You have to know lots of things and have to practice more and more to be a professional. Photoshop image masking is very popular among many companies. Many industries like the fashion industry, food industry, e-commerce industry, publication industry, automobile industry and many more. Almost all the companies who work with photos need photo editing services to make their photos look good. The photos are being used in posters, banners, websites, brochures, magazines and many other places. It is your chance to establish yourself as a professional photo editor which can earn you both money and respect. Many people are getting employment by knowing photo editing. Our aim is to help you with our step-by-step guideline of masking. I hope you can learn alpha channel masking by yourself and show it to the world.