Wrinkles in clothes are one of the biggest pet peeves for most photo enthusiasts! Whether you’re shooting a friend or family member, photographing a model, or simply documenting your own outfit—wrinkles can be quite annoying. But don’t worry – there are lots of ways to get rid of them and remove wrinkles from clothes.
Photoshop has numerous tricks up its sleeve when it comes to fixing and eliminating wrinkles from photos. Here is a quick and easy method to help you get rid of those pesky creases. Unless you want to believe in professionals for this task. You can always outsource your clothing photo editing tasks to us.
Why should you remove wrinkles from Clothing Photos?
Wrinkles can make even the most beautiful photo look unappealing. Unfortunately, these stubborn creases keep appearing on our clothes no matter how many times we iron them. Thankfully, Photoshop has a few tricks up its sleeve to remove wrinkles from your images and leave them looking perfect once again.
Even though this type of image editing may sound difficult, you’ll be surprised with how easy it is to do using Photoshop and the following techniques. Whether you have a photograph or a vector image that needs adjusting, you’ll find everything you need here to remove those pesky wrinkles once and for all! Read on to find out more…
Steps to remove wrinkles from clothes Photoshop using Color Replacement Tool –
Open the File
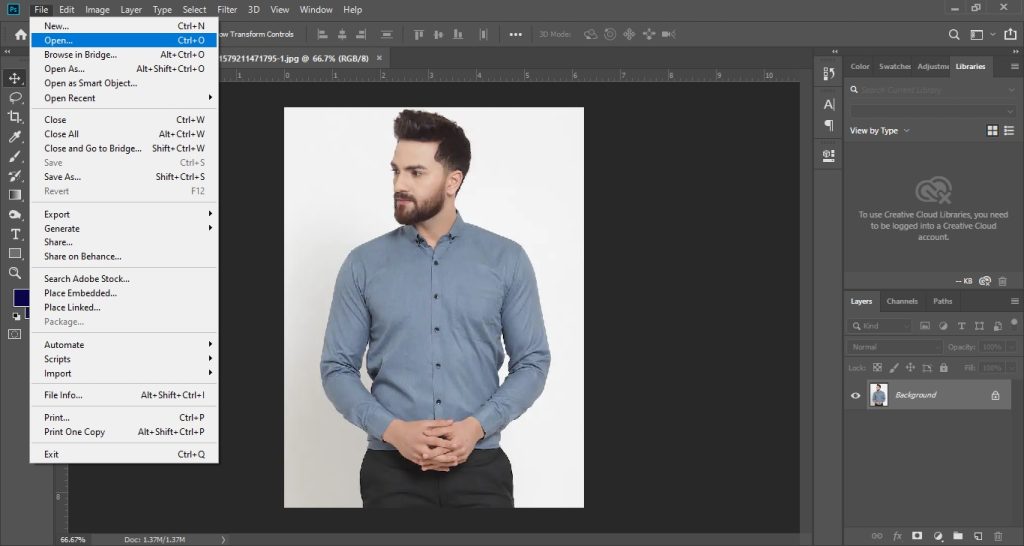
At first open the file or Photo in Photoshop. You can use the Drag and drop function or the open file option in Photoshop to open the file. I suggest using the drag and drop function as all you have to do is drag the image from your PC folder and Drop in Photoshop.
Duplicate the Background Layer
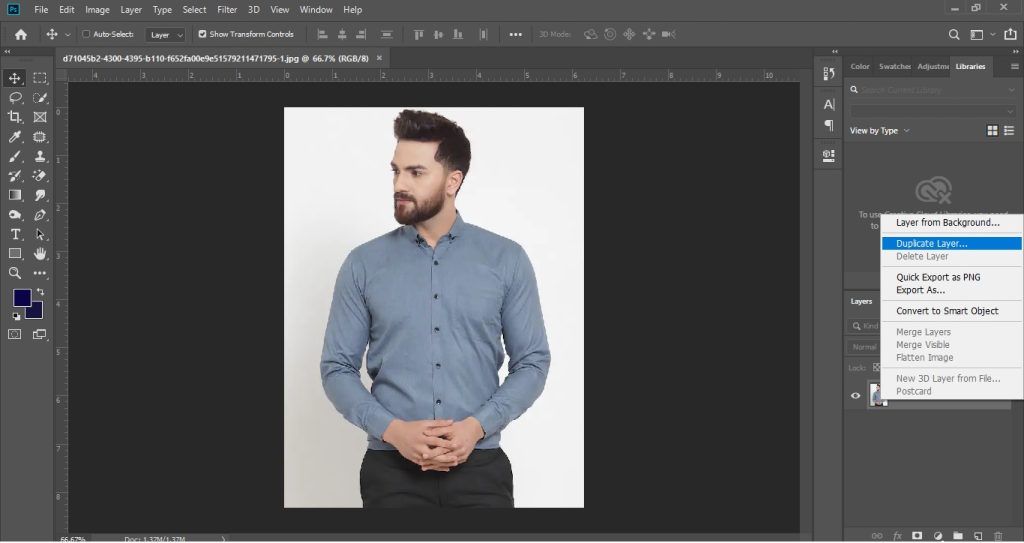
After opening the file in Photoshop, you’ll see in the layer tab is a background layer. You’ll have to copy the background layer now. It will help you do a non-destructive photo editing. To copy the background layer, hover your mouse on the background layer then make a right click. You’ll see an option from there choose duplicate layer. This will duplicate the layer for you.
Take Color Replacement Tool
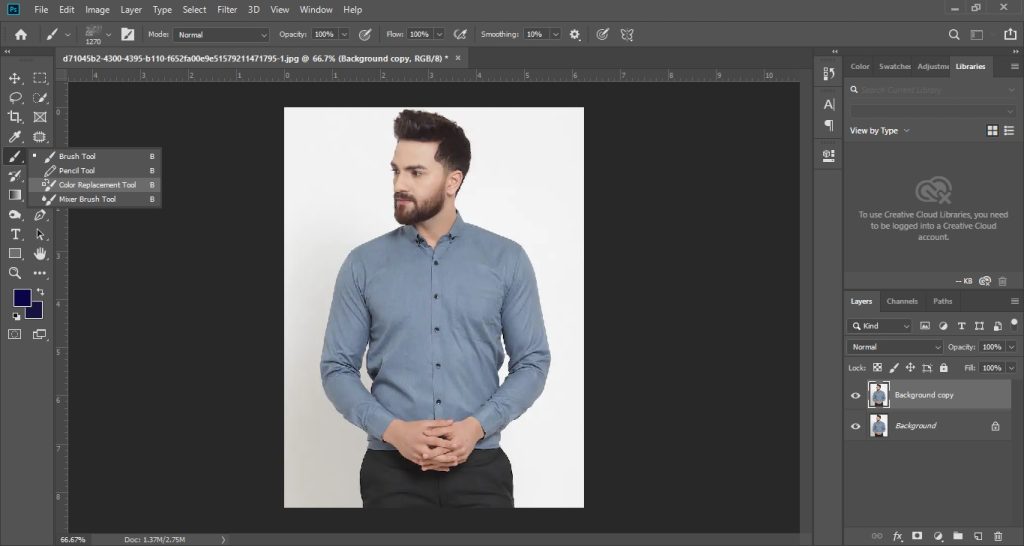
Now we’ll have to select the color replacement tool from the Photoshop toolbar. Hover on the brush tool icon then right click on it. You’ll find a list of different brush tools, from there select the color replacement tool. A color replacement tool will take a sample color from the clothing and will help you draw over the creases making them disappear.
Draw on the creases or wrinkles
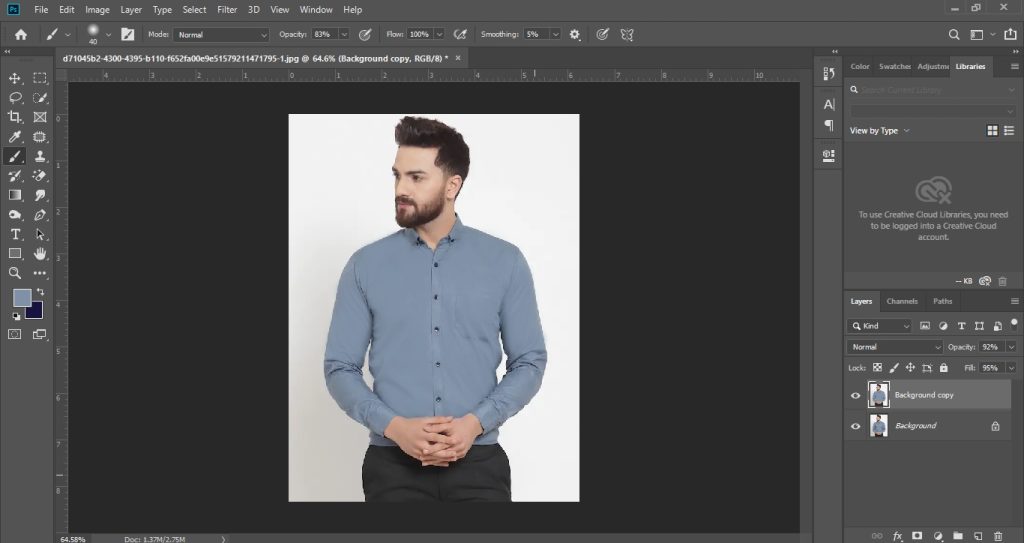
Now simple use a soft brush and reduce the opacity to 80% to 85%. Then start drawing on the areas of the clothing where you see wrinkles. Gradually you’ll see that the wrinkles are fading away or getting replaced by the shirt’s color.
Fix the Color and Sharpness
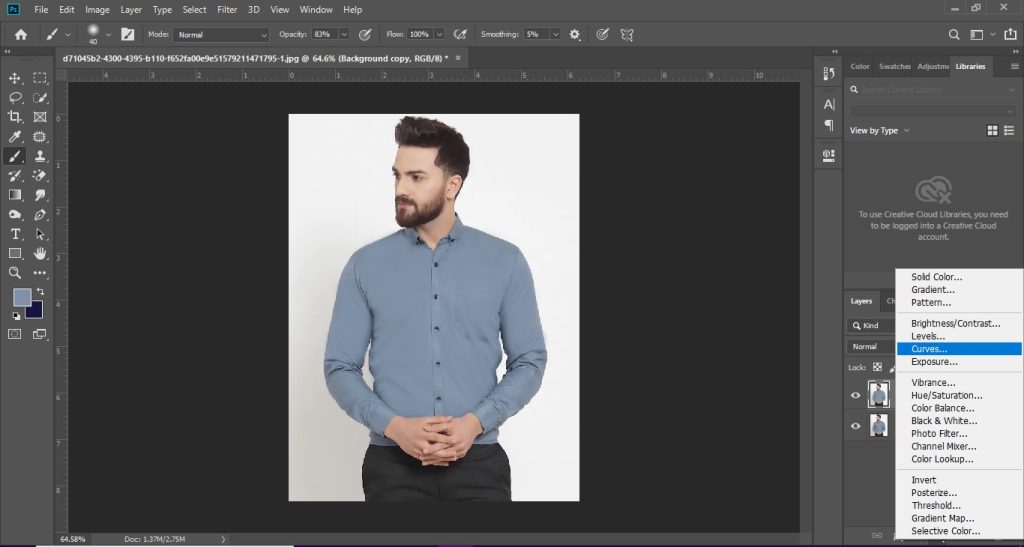
After you’re done removing the creases, you can adjust the color of the clothing using curves adjustment layer. It will help you to adjust brightness and contrast as well as the color of the overall clothing photo.
Adjust Curves
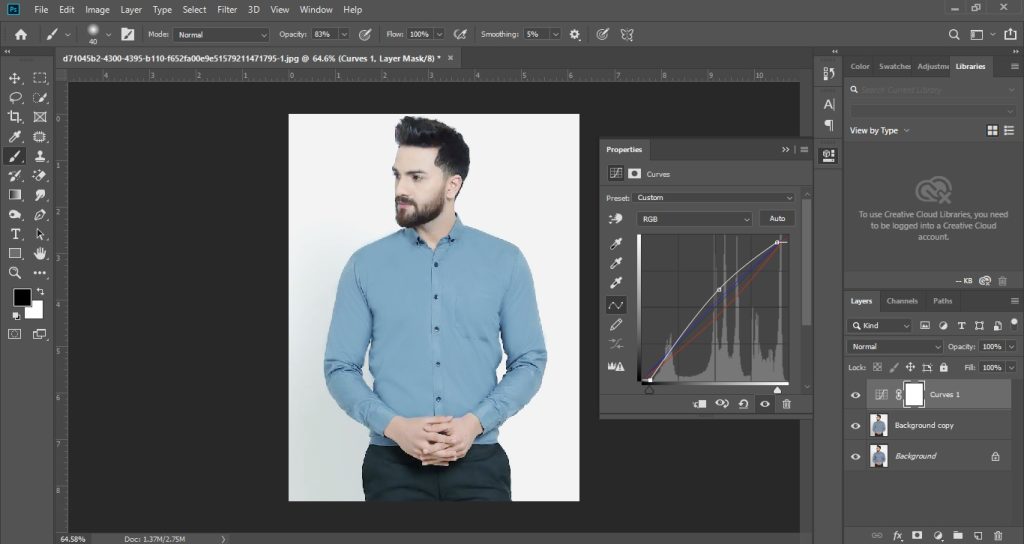
Go to the adjustment layers which Is right below the layer tab. And choose the Curves option. Then choose the center point of the curve and drag it a little upwards. You’ll see the changes in the image. Adjust it according to your perspective. And then the process is complete.
Before vs After
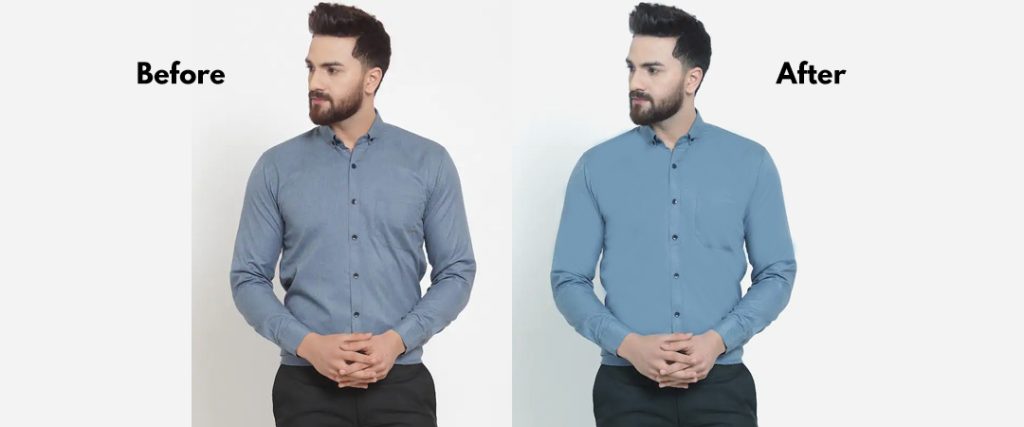
Take a look at the before and after image of the clothing photo we have edited using the color replacement tool. You can master it too with practice. You can also outsource photo editing services to us if you want to save time and get professional touch to your clothing photos.
How to remove wrinkles from clothing using Photoshop Clone Stamp tool
The first method we’ll look at is using the Clone Stamp tool. This is a great way to remove wrinkles, especially if they are all in one place. Select the Clone Stamp tool and select a soft brush. Choose a brush size that is large enough to cover the entire wrinkle. Then, click onto the wrinkle and drag the brush over the area.
You’ll now need to click and drag your cursor back to the same wrinkle and release the click. This will complete the process and remove the wrinkle. If there are several wrinkles that need removing from different areas of the garment, the Content-Aware Fill option may be the best solution for you. With this technique, you can select the wrinkles and then click and drag them to another area of the image.
This will remove the wrinkles from the original image and replace them with the pixels from the new area, ensuring that the image appears flawless. This is a great option to use if you have wrinkles in different areas of the image that need removing. You can select up to nine different areas to fill with pixels. The process will then blend the pixels together to create a smooth surface and erase the wrinkles.
Using Smart Object and Rotate Tool
Another method you can use to remove wrinkles from your garment is to use the Smart Object and Rotate Tool. This is a particularly useful technique to use if there are multiple wrinkles in the image. Select the Smart Object and Rotate Tool, then click and drag over the wrinkles.
Next, click and drag over an area that doesn’t have wrinkles, and release the click. Photoshop will now blend the pixels from the two areas together, removing the wrinkles from the first area and replacing them with pixels from the second area. The Shake Reduction option is a great technique to use to remove wrinkles from an image.
To do this, select the Shake Reduction option, and then select the type of fabric your garment is made from. Select the area of the image that contains the wrinkles, and then click and drag over the wrinkles. You’ll now notice that the wrinkles have been removed from the image and replaced with smooth, flawless fabric. This is a great option to use if you have multiple wrinkles in the photo, or if you have a large wrinkle that covers a wide area.
Conclusion
As you can see, there are many different ways to remove wrinkles from clothing using Photoshop. If you’re only dealing with a few wrinkles, you can use the Clone Stamp tool. If you have wrinkles in different areas of your photo, or if you have a large wrinkle that covers a large area, the Content-Aware Fill option is a great choice.
If you have multiple wrinkles and you don’t feel comfortable selecting and cloning each one individually, you can use the Smart Object and Rotate Tool or the Shake Reduction option. No matter which method you use, you can be sure that your wrinkles will be a thing of the past in no time!