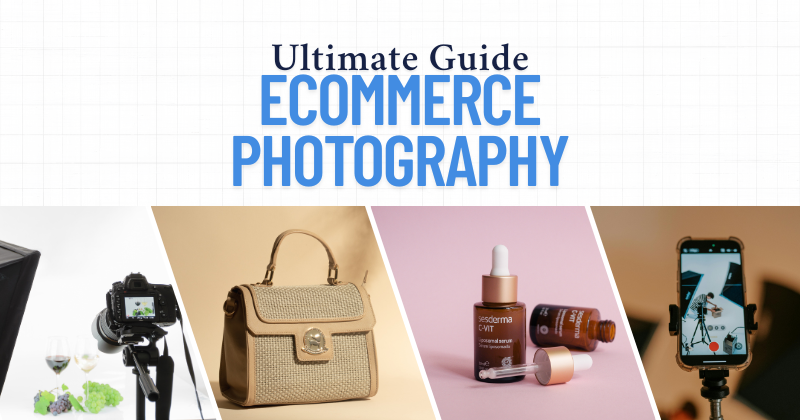
Welcome to your no-fluff, no-BS, real guide to ecommerce photography for products. If you’re running an online store — whether it’s handmade jewelry, cosmetics, tech gadgets, or fashion — your photos can make or break the sale. Period.
This guide is written for founders, store owners, and hustlers who want scroll-stopping product images without needing a full-blown studio.
Why E-Commerce Product Photography Is the Secret Sales Weapon?
Did you know 85% of shoppers say product photos are the #1 factor in their buying decisions? In today’s scroll-happy world, e-commerce photography isn’t just important—it’s your silent salesperson, brand ambassador, and conversion machine rolled into one pixel-perfect package.
A single stunning image can skyrocket your add-to-cart rate by 3X… while a blurry snapshot could tank your credibility faster than a one-star review. This is where battles for wallets are won: 73% of returns happen when products don’t match their online visuals.
But here’s the secret weapon crushing it for top brands: Strategic photography that turns casual browsers into obsessed buyers. Ready to discover how the pros hijack attention, kill decision fatigue, and turn product pages into profit engines?
Let’s dive into the psychology-backed tactics, lighting hacks, and composition tricks that’ll make your competitors’ product galleries look like yard sale snapshots. Your “Add to Cart” button will thank you.
Types of Ecommerce Product Photos You Need
1. White Background Photos
- Essential for marketplaces like Amazon or Etsy.
- Clean, distraction-free, professional.
Pro Tip: Use a lightbox or shoot against a white wall with good lighting. Edit later to remove any shadows or imperfections.
2. Lifestyle Shots
- Show your product in action — being used by a person, in a setting.
- Helps customers visualize ownership.
Example: A model wearing your scarf on a busy city street = aspiration sells.
3. Detail or Macro Shots
- Zoom in on textures, stitching, logos, ingredients — anything that makes your product premium.
4. 360° or Multiple Angles
- Front, back, sides, top — the more, the better.
- Minimizes customer uncertainty.
5. Size Comparison Shots
- Place your product beside a common item (a phone, hand, or notebook) to show scale.
Chapter 1: Getting Started with E-commerce Product Photography
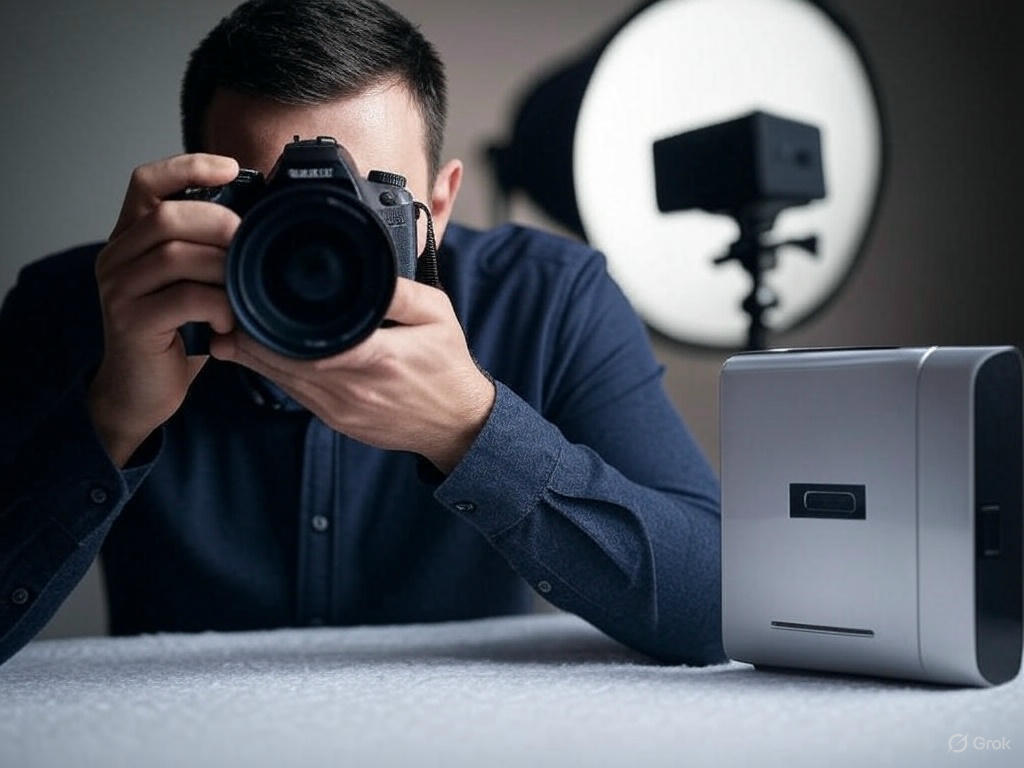
Before diving into shooting, understanding the basics is essential. E-commerce photography demands clarity, consistency, and professionalism. Using DSLR cameras or even smartphones with great lenses can yield sharp, clear images. Lighting, backgrounds, and equipment choices affect how well products resonate with potential buyers.
Product photography is most effective when it aligns with brand identity. Think about your target audience and what visuals they expect. Minimalistic, elegant setups work well for luxury brands, while colorful, vibrant images may suit playful, youth-focused stores. Cohesiveness across product photos is key.
Essential equipment includes a camera, tripod, lighting kit, white or neutral background, and reflectors. A good setup prevents blurry shots and shadows. Invest in a lightbox or softbox for better lighting control. Equipment doesn’t need to be expensive to be effective.
For a detailed breakdown of budget gear, see our guide to the Best Equipment for Product Photography
Ready to Transform Your Product Photos?
Your images shouldn’t just look good—they should SELL.
Try Our Pro Editing Services Risk-Free:
- Free 10 Image Edit – See the difference instantly (Get Started Now)
- Ecommerce Ready Images – Perfect lighting, crisp details, white backgrounds
- Fast 24-Hour Turnaround – Because waiting kills sales
- Money-Back Guarantee – If we don’t boost your conversions, you don’t pay
Chapter 2: Planning Your Shoot
Successful photography starts with solid planning. Begin with a shoot checklist: clean products, charge batteries, prep backgrounds, and set lighting. Create a shot list for each product, including angles and compositions. Planning reduces retakes and increases productivity.
Avoiding mistakes can save time and cost. Don’t ignore reflections, inconsistent lighting, or messy backgrounds. Not planning color consistency or product placement often results in a disorganized gallery. Mistakes in photography lead to a poor brand image and increased bounce rates.
Shooting in natural light saves cost, but for consistency, use artificial light sources. Always shoot in RAW for better editing flexibility. Have backup memory cards and batteries to prevent interruptions. Use a remote shutter or timer to avoid camera shake.
References:
E-commerce Product Photography Mistakes to Avoid
Chapter 3: Different Styles of Product Photography
Every product category has unique requirements. Fashion items benefit from ghost mannequin or flat lay photography. Ghost mannequin allows clothing to retain a 3D shape while appearing invisible, showing structure and fit clearly. This boosts conversion and looks professional.
Flat lay photography offers a bird’s-eye view, popular on social media. Clothing laid flat on textured or neutral backgrounds helps emphasize design. Consistency in lighting and shadows ensures a polished look. Use symmetry and spacing to make photos pop.
Don’t have mannequins? Use hangers or arrange garments on a flat surface. Always smooth wrinkles and position items neatly. Clothes should look clean and pressed. Clothing shots sell better when viewers can imagine wearing them.
Jewelry photography requires close-up, macro photography with careful lighting. Avoid reflections and use props like acrylic risers or textured backgrounds. Rings, necklaces, and earrings need extra attention to detail and shine. Post-production edits are usually essential.
Furniture photography involves large scenes. Use natural light when possible and shoot in wide, staged setups. Include scale elements like people or props to give context. Clean backgrounds and professional staging are key.
References:
Ghost Mannequin Photography Tips
Flat Lay Clothing Photography Ideas and Tips
Take Pictures of Clothes to Sell Without Mannequin
Jewelry Product Photography Mistakes
Furniture Photography Tips
Chapter 4: Taking High-Quality Product Photos

Lighting defines how your product appears. Use soft, diffused lighting to eliminate harsh shadows. Place lights at 45-degree angles for best results. Avoid mixing light temperatures. Color consistency across products enhances trust and reduces return rates.
Frame shots correctly by using the rule of thirds. Center key product details. Use close-up and wide shots to provide context. Include multiple angles—front, side, back, and zoom. Customers want to see what they’re buying clearly.
Backgrounds should never distract. White is the industry standard, especially for marketplaces like Amazon. Colored or textured backgrounds can be used for branding but should never overpower the product.
On Amazon, images must be at least 1000px wide, with a white background for main images. Zoom functionality and product clarity are essential. Lifestyle images and infographics work well as secondary photos.
References:
Amazon Product Photography Tips
Pictures of Clothes for Instagram
Chapter 5: Editing Your E-commerce Photos

Editing is the secret sauce behind professional-looking product photos. Use tools like Adobe Photoshop or Lightroom to enhance clarity, correct colors, and maintain consistency. Basic editing includes cropping, straightening, and adjusting brightness and contrast.
Remove distracting backgrounds using clipping path or background removal tools. White or transparent backgrounds are preferred for most platforms. Tools like the pen tool in Photoshop provide high accuracy.
Batch editing increases productivity. Use presets or actions to apply consistent adjustments across similar photos. This ensures all product images align visually, enhancing store aesthetics and professionalism.
Jewelry and reflective products need advanced retouching. Enhance shine, remove dust, and fix reflections. Zoom into every detail. For clothing, fix wrinkles or shadows. For furniture, adjust tones and remove scuffs.
References:
E-commerce Product Images Editing
How to Edit Ecommerce Photos
How to Change Background from E-commerce Product in Photoshop
Photo Editing Tips for E-commerce Photography
Edit Jewelry in Photoshop
How Photo Editing Services Can Give Your E-commerce Business a Boost
Chapter 6: Advanced Photo Editing Techniques

For ghost mannequin effects, shoot front and back views of clothing and combine layers in Photoshop. Carefully erase mannequin parts and align inner and outer layers to maintain realism and shape.
Jewelry editing involves high-level retouching. Use the dodge and burn tool to enhance highlights and remove dull spots. Increase sharpness, apply noise reduction, and ensure true-to-life colors.
Maintain uniform backgrounds across your product line. Use consistent shadows and reflections. Use Photoshop’s layer mask, feathering, and brush tools to refine edges and match lighting.
Color correction across batches helps maintain brand consistency. Match skin tones, product colors, and shadows. Use color grading tools and hue/saturation sliders for precise edits.
References:
Edit Jewelry in Photoshop
How to Change Background from E-commerce Product in Photoshop
Chapter 7: Hiring a Professional Photographer
If DIY isn’t delivering desired results, consider hiring a product photographer. Professionals have experience, equipment, and editing workflows that can elevate your brand image significantly.
When hiring, ask about portfolio, editing process, turnaround time, and product handling. Request test shoots if possible. Local professionals often offer better logistics.
In Miami, experienced photographers focus on fashion and jewelry photography. They offer both studio and location services. In Dallas, photographers provide high-volume and editorial product photography options.
References:
How to Hire a Product Photographer
Product Photographers in Miami
Best Product Photographer Dallas
Chapter 8: Branding Through Ecommerce Photography
Photos are part of your brand language. Consistent lighting, angles, and tone give a cohesive brand feel. Strong product images become your silent salespeople across platforms.
Jewelry brands especially benefit from branded photos. Use your logo subtly, consistent props, and a signature lighting style. Showcase your uniqueness through visuals.
Photography can convey luxury, affordability, eco-consciousness, or playfulness. Use it to reinforce brand story, values, and audience connection.
References:
Brand Your Jewelry Business
10 Essential Business Tools For Success
Ecommerce Photography Workflow
Build a repeatable, efficient system that keeps your images consistent and your process stress-free:
- Prep Your Products: Clean each item thoroughly, remove stickers or dust, and group similar products together.
- Plan the Shoot: Create a shot list per product (e.g., front, back, lifestyle, detail) and gather inspiration that aligns with your brand.
- Set Up Your Space: Mark consistent spots for lighting, product placement, and camera to recreate your setup quickly.
- Shoot Efficiently: Stick to your list and take more angles than needed — it’s easier to delete than reshoot.
- Batch Edit: Use editing software to adjust lighting, color, sharpness, and background removal in one go.
- Organize Assets: Store raw and edited files in folders by product SKU and use consistent, SEO-optimized filenames.
- Upload & Optimize: Add alt text, compress images for fast loading, and double-check how they display on desktop and mobile.

Bonus Tips: What Great Photography Does?
- Builds trust instantly
- Reduces returns
- Increases conversions (by up to 30%)
- Gives you a competitive edge on marketplaces like Amazon, Daraz, or your own Shopify store
DIY vs Professional Photography — Which One?
Between DIY vs Professional Photography, DIY photography seems cheaper… until you tally the hidden costs: hours lost to sloppy lighting, endless editing, and sales-killing amateur shots. Professional photography? That’s strategic investment — razor-sharp visuals that sell faster, justify premium pricing, and outclass competitors. Choose: your time + revenue vs. a tripod and crossed fingers.
| DIY | Professional |
| Cheap or free | Expensive but fast |
| Time-consuming | Done for you |
| Great for small inventories | Best for catalogs or high-ticket items |
Hot Take: Start DIY, scale to pro when your time becomes more valuable than your money.
Related: DIY vs Pro Photography: The Hidden Cost of ‘Saving Money’ (And How to Skyrocket Sales)
Conclusion
High-quality e-commerce photography is an investment, not an expense. It helps boost credibility, conversions, and customer satisfaction. Whether DIY or professional, follow best practices and consistently improve your visuals.
Build a repeatable workflow: plan shoots, shoot high-res photos, edit carefully, and update images regularly. Good visuals bring your products to life online.
You don’t need a Hollywood studio. You need this guide, consistency, and a good eye.
Happy shooting. Let your photos sell for you.
FAQs (Frequently Asked Questions)
1. What camera is best for e-commerce photography?
DSLR or mirrorless cameras like Canon EOS or Sony Alpha series work well. Newer smartphones also work if lighting is excellent.
2. What is ghost mannequin photography?
It is a technique where garments are photographed on a mannequin and then edited to make the mannequin invisible, giving a 3D look.
3. How can I take good photos without a studio?
Use natural light near a window, a clean background, and a tripod. Use reflectors for shadows.
4. Which software is best for editing product photos?
Adobe Photoshop and Lightroom are industry standards.
5. Do I need a white background for product photos?
White backgrounds are standard on Amazon and other platforms but branding shots may use colored or textured ones.
6. How many angles should I shoot per product?
At least 5: front, back, side, close-up, and lifestyle shot.
7. Can I use my phone for product photography?
Yes, if the phone has a good camera and you have great lighting.
8. Should I hire a professional photographer?
If quality is poor or consistency is lacking, hiring a pro may help elevate your brand.
9. How do I edit jewelry photos?
Use high zoom, remove reflections, enhance shine, and ensure accurate color.
10. What is the ideal image size for e-commerce?
Minimum 1000px for zoom. Amazon recommends 1600px x 1600px.